DIY can save money, teach a useful skill, or let you make something that fits your space. It can also cost more and take longer than expected. The useful question is what a particular project requires, not whether doing it yourself is always better. These five common assumptions are worth checking before you buy materials.
1. “DIY is always cheaper.”
The materials list is only part of the price. A shelf also needs suitable fixings, a way to make accurate cuts, surface preparation, and possibly a finish. A cheap plan becomes expensive if you buy a tool for one cut or replace material after a mistake.
- Write the full shopping list first. Include fasteners, glue, abrasives, protective equipment, delivery, and any tool rental. Mark what you already own.
- Compare the same result. Match size, material, and finish when comparing your build with a ready-made item.
- Choose your reason. Custom dimensions or learning a skill can justify a higher cost. Treat that as the benefit rather than calling it a saving.
2. “Good work requires expensive tools.”
A higher price is not a substitute for a tool that suits the job. For a simple project, a measuring tool, appropriate saw, drill, and clamps may be enough. On the other hand, a bargain tool is poor value if it cannot do the required work accurately or safely.
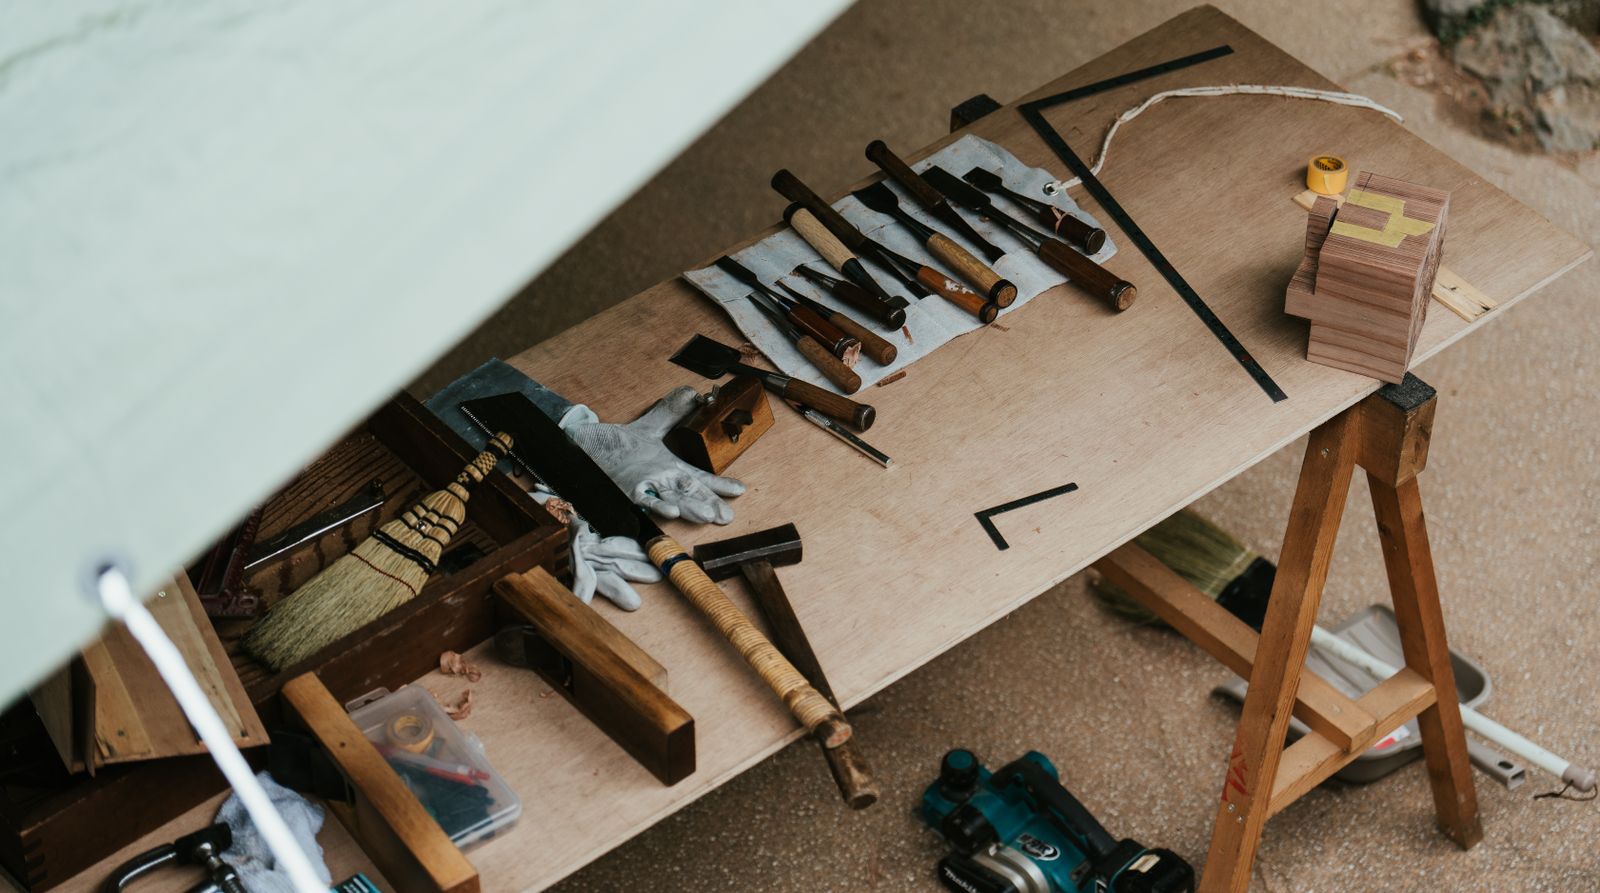
- Borrow or rent for occasional jobs. Learn the controls and read the instructions even if someone else owns the tool.
- Inspect used tools before buying. Check their condition, required guards, compatible accessories, and availability of the exact model’s manual. Check the manufacturer’s recall information.
- Keep practice and equipment in balance. Technique matters, but do not dismiss a tool’s capacity, accuracy, or condition. DEWALT’s official safety guides are an example of manufacturer guidance to consult alongside the manual for your own tool.
3. “You have to be naturally handy.”
Break the work into skills you can practice. Measuring, drilling a clean hole, making a straight cut, and assembling a square corner are separate tasks. You do not need to learn them all on your first finished piece.
- Choose a small, low-consequence project. A simple desktop organizer is easier to learn on than a load-bearing structure.
- Practice the unfamiliar step on scrap. Check the hole size, cut, or finish before touching the final material.
- Use feedback. Measure the result and identify one change for the next attempt. Photos and videos help, but the relevant product instructions should resolve questions about its use.
4. “DIY is always faster.”
Separate time spent working from time spent waiting. You might assemble a piece in an afternoon while its glue or finish still needs longer before use. Buying supplies, setting up, cleaning, and correcting a mistake also belong in the schedule.
Use the actual product’s instructions for waiting periods. For example, Titebond’s wood-glue FAQ distinguishes clamping an unstressed joint from loading a new joint and recommends avoiding stress for at least 24 hours for most of its wood glues. This is not a universal rule for every adhesive. Minwax’s preparation guidance also explains that cooler conditions and high humidity can extend finish drying time.
Plan backward from when the item must be usable. Include the preparation and waiting periods required by the materials you choose. If the deadline cannot accommodate those steps, simplify the project or choose a finished item.
5. “A project has to look perfect to succeed.”
A small scratch or uneven stain may be acceptable on a personal project. A loose joint, unstable shelf, sharp exposed edge, or damaged electrical connection is a different problem. “It works” is not enough when a defect affects safety or durability.
- Define the acceptance checks before starting. Does it fit, remain stable, and function as intended? Have you followed the relevant assembly, fixing, and product instructions?
- Separate cosmetic rework from essential repairs. Decide which appearance flaws you can live with; correct defects that affect the job it needs to do.
- Know when to stop. If you cannot establish the safe method or the applicable requirements for structural, mains electrical, or gas work, get qualified help before proceeding.
Make the next project easier to finish
Write down the result you want, the full cost, the tools you need, the unfamiliar skill to practice, and the earliest realistic completion date. That short plan is more useful than assuming DIY will be cheaper, faster, or flawless. Start small, check the result, and use what you learn on the next build.
6. “More power is always better.”
It’s tempting to buy the biggest motor, the highest wattage, the most amps — as if power were a score. But tools are matched to tasks, and overshooting causes its own problems.
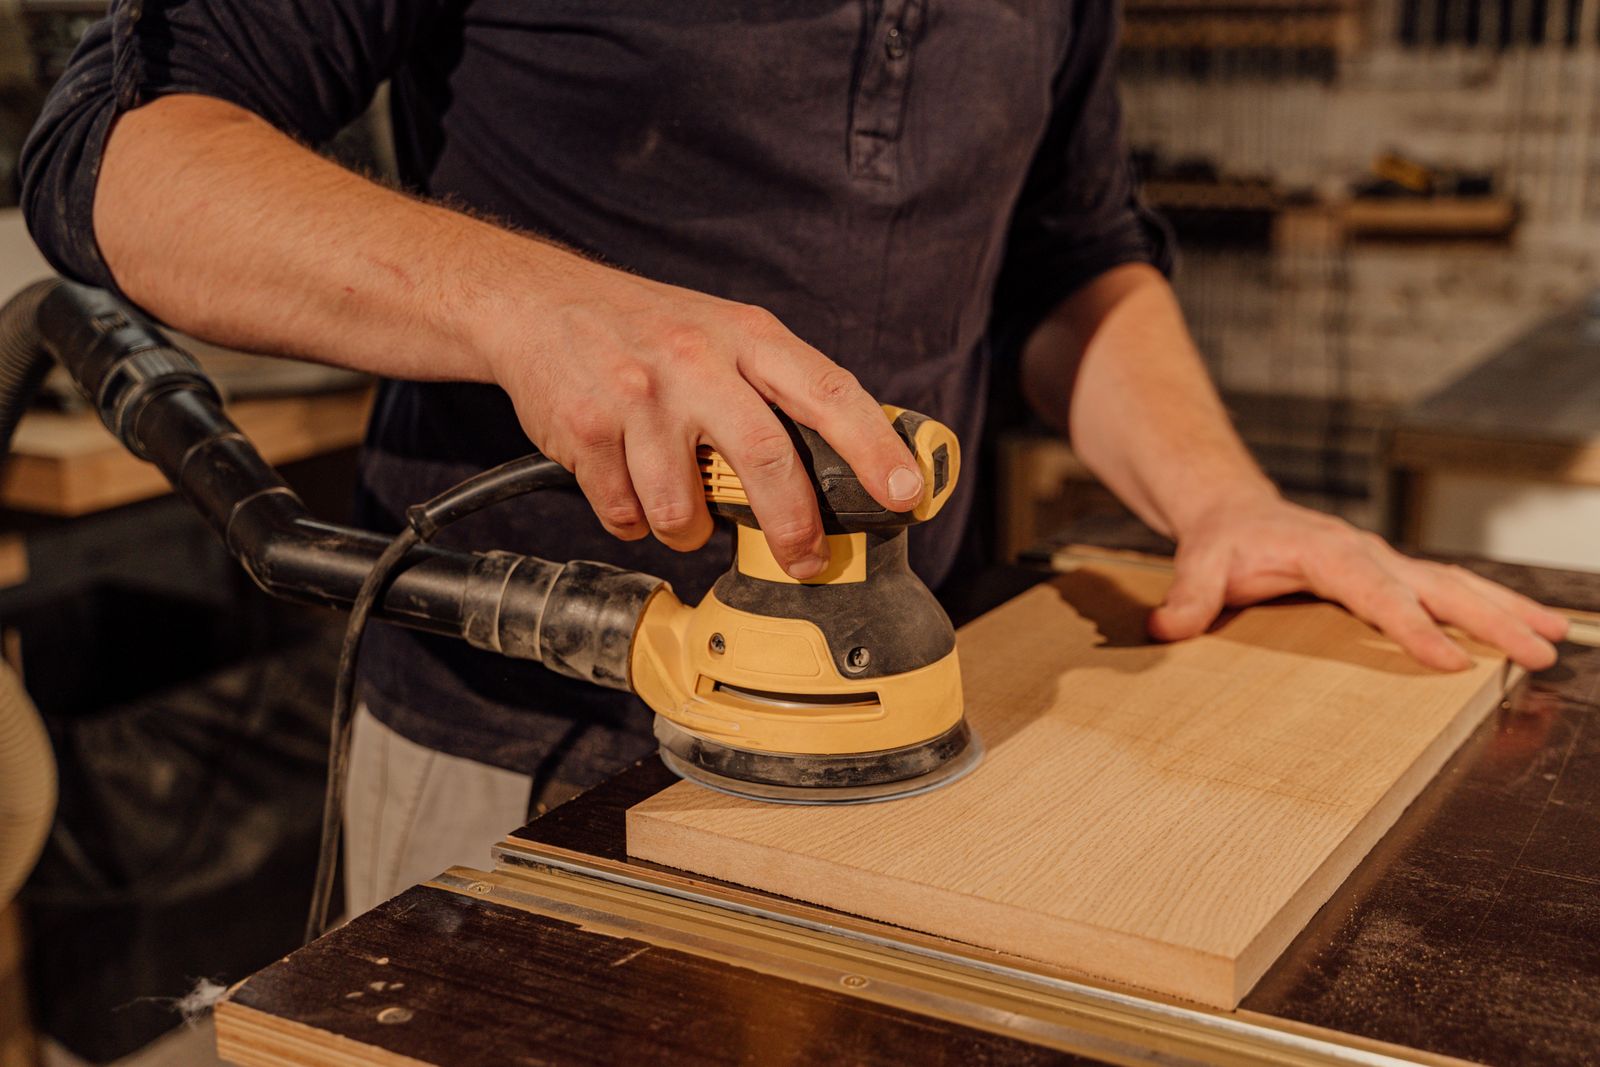
An overpowered random-orbit sander gouges soft pine before you can react. A drill with far more torque than the job needs snaps small screws and strips pilot holes. A 10-amp angle grinder for cutting thin sheet metal is exhausting, jumpy, and harder to control than the right 6-amp tool. In each case the “better” tool produces worse results in beginner hands, because control matters more than force for 90% of DIY work.
- Size the tool to the material. Cutting 2×4s? A compact circular saw is easier to guide than a full-size worm drive. Drilling pilot holes in softwood? A 12V drill is plenty — save the 18V hammer drill for masonry.
- Rent the beast, own the daily driver. Need a demolition hammer once? Rent it. Own the mid-size tools you’ll reach for weekly.
- Read the minimum specs too. A tool that’s too weak stalls and burns out — the goal is the middle, not the maximum.
Why the myth persists: bigger numbers are easy to market and easy to compare. “2,000W!” fits on a box; “appropriately torqued for controlled material removal” doesn’t. Spec-sheet shopping feels like research, but it’s really just shopping.
7. “You need a workshop before you start.”
This is the myth that kills more projects than any other — the belief that you need the garage, the workbench, the pegboard wall, and the dust collection before you’re allowed to build anything. So people wait. For years.
Here’s the truth: your first dozen projects need about six square feet, not six hundred. A folding table (or the kitchen table with a cutting mat), a plastic tote for tools, and a corner to store it all. Electronics, 3D printing, small woodworking, Arduino projects, repairs — all of it happens happily on a tabletop. Some of the best makers I know still work out of an apartment closet.
- Start with the tote system. One 20-gallon tote holds a complete beginner electronics or small-woodworking kit. When the project session ends, everything goes back in the tote. No dedicated room required.
- Let the projects earn the space. When you’re tripping over the third tote and the table is never clear, that’s the signal to claim garage space — and by then you’ll know exactly what layout you need, instead of guessing.
- Noise and dust are the real constraints, not space. A hand saw and a shop-vac-friendly sander work in an apartment. A router and a table saw don’t. Choose early projects that fit your living situation, not someone else’s YouTube studio.
Why the myth persists: maker YouTube is filmed in gorgeous workshops, and it’s easy to confuse the set with the requirement. Nobody films the two years of kitchen-table builds that came first — but almost everyone has them. Don’t let someone else’s finished shop talk you out of starting on a folding table.

The DIY Geek — hands-on guides for electronics, 3D printing, woodworking, and smart home.