5 Woodworking Joints Every Beginner Should Know (And When to Use Each)
Woodworking has a reputation for requiring years of practice before you can build anything respectable. That’s mostly myth. With five basic joints, you can build shelves, tables, boxes, frames, and workbenches that are strong, square, and good-looking.
Learn these in order. Each one teaches a skill the next one builds on.
1. The butt joint (start here)
Two boards meet end-to-face, glued and screwed. That’s it. It’s the simplest joint in woodworking — and the one beginners unfairly look down on.
Strength: modest on its own, but with glue plus screws (or dowels), it’s plenty strong for shelves, simple boxes, and shop furniture.
How to do it right:
- Cut your ends square — a bad cut is the #1 reason butt joints fail.
- Apply wood glue to both surfaces, clamp, then drive screws (pre-drill to avoid splitting).
- Wipe excess glue immediately with a damp cloth.
Best for: shop shelves, storage boxes, simple frames, anything where the joint won’t be stared at.
The lesson it teaches: square cuts and glue discipline. Master this and everything else gets easier.
2. The pocket-hole joint
A pocket hole is an angled hole drilled into one board so a screw pulls the joint tight from the inside. A simple jig (about $30–40) makes them fast and repeatable.
Strength: significantly stronger than a plain butt joint — the angled screw acts like a clamp that never lets go.
How to do it right:
- Set the jig for your exact board thickness. This matters more than anything else.
- Use pocket-hole screws (they have a flat head that seats properly in the angled hole).
- Glue plus pocket screws is a genuinely strong joint.
Best for: face frames, table aprons, bookshelves, cabinet carcasses — anywhere you want strength without visible fasteners on the show face.
The lesson it teaches: mechanical advantage. You’re learning how screw angle and clamping pressure create strength.
3. The dado and rabbet
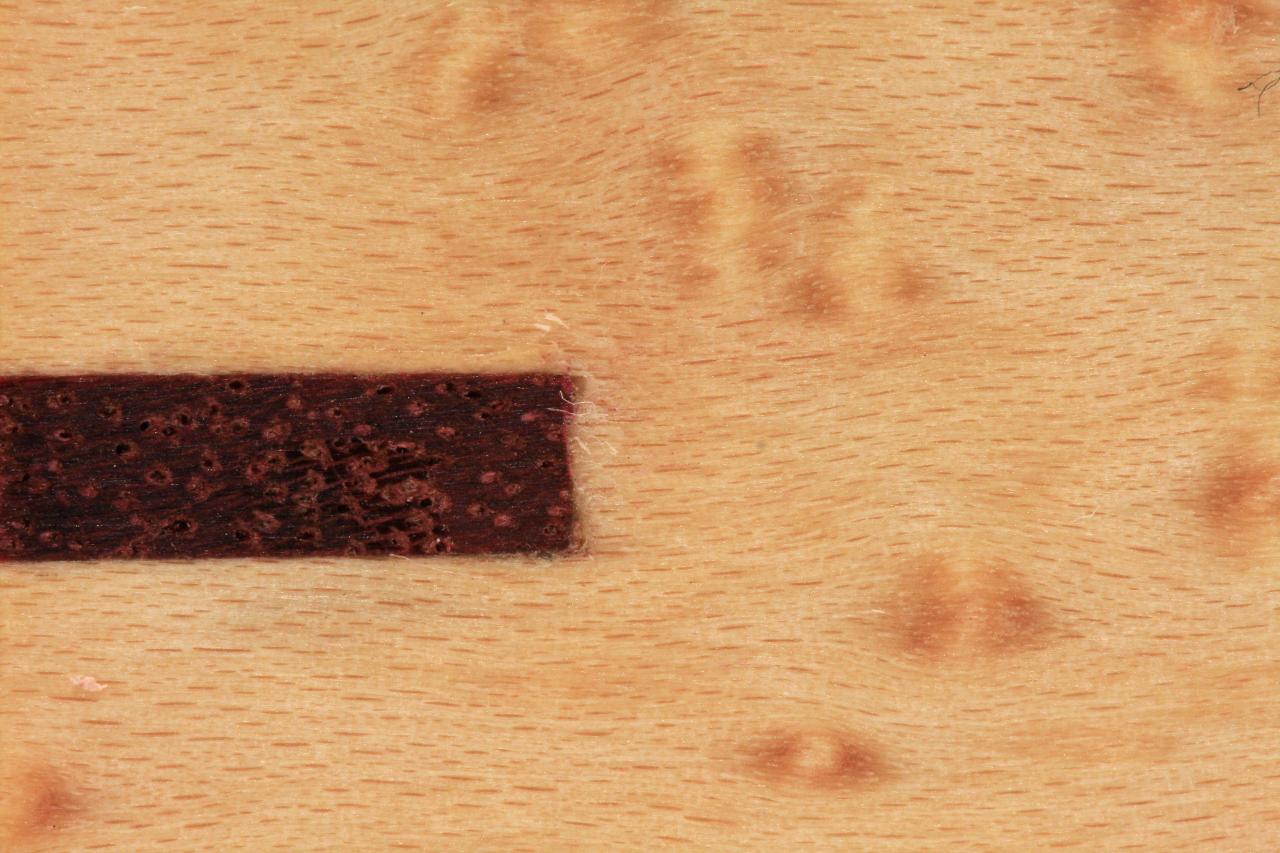
A dado is a square groove cut across the grain; a rabbet is a step cut along the edge. Both give glue a huge surface area to grip, which is why they’re dramatically stronger than butt joints.
How to cut them: a table saw with a stacked dado set is the classic method, but a router with a straight bit and an edge guide works beautifully and is friendlier for beginners.
Strength: excellent. A glued dado joint is often stronger than the wood around it.
Best for: bookshelf sides (shelves sit in dados), drawer boxes (rabbets), cabinet backs.
Pro tip: cut your dados slightly snug and test-fit with scrap. Too tight and you’ll split the board forcing it; too loose and you lose the strength advantage. Aim for “slides in with hand pressure.”
The lesson it teaches: precision measuring and test cuts. Woodworking is 70% measuring, 30% cutting.
4. The miter joint
Two boards meet at 45-degree angles to form a 90-degree corner — the joint behind every picture frame.
Strength: weak on its own (it’s mostly end grain meeting end grain, which glue hates). Miters need reinforcement: splines, dowels, or biscuits turn a fragile joint into a solid one.
How to do it right:
- Your 45° cuts must be exact. Even half a degree off leaves a visible gap. A miter saw with a stop block, or a shooting board with a hand plane, gets you there.
- Glue, clamp with a band clamp or corner clamps, then reinforce.
Best for: picture frames, decorative boxes, trim work — anywhere looks matter more than load-bearing.
The lesson it teaches: accuracy. Miters punish sloppy angle cuts instantly and visibly.
5. The mortise and tenon (the graduation project)
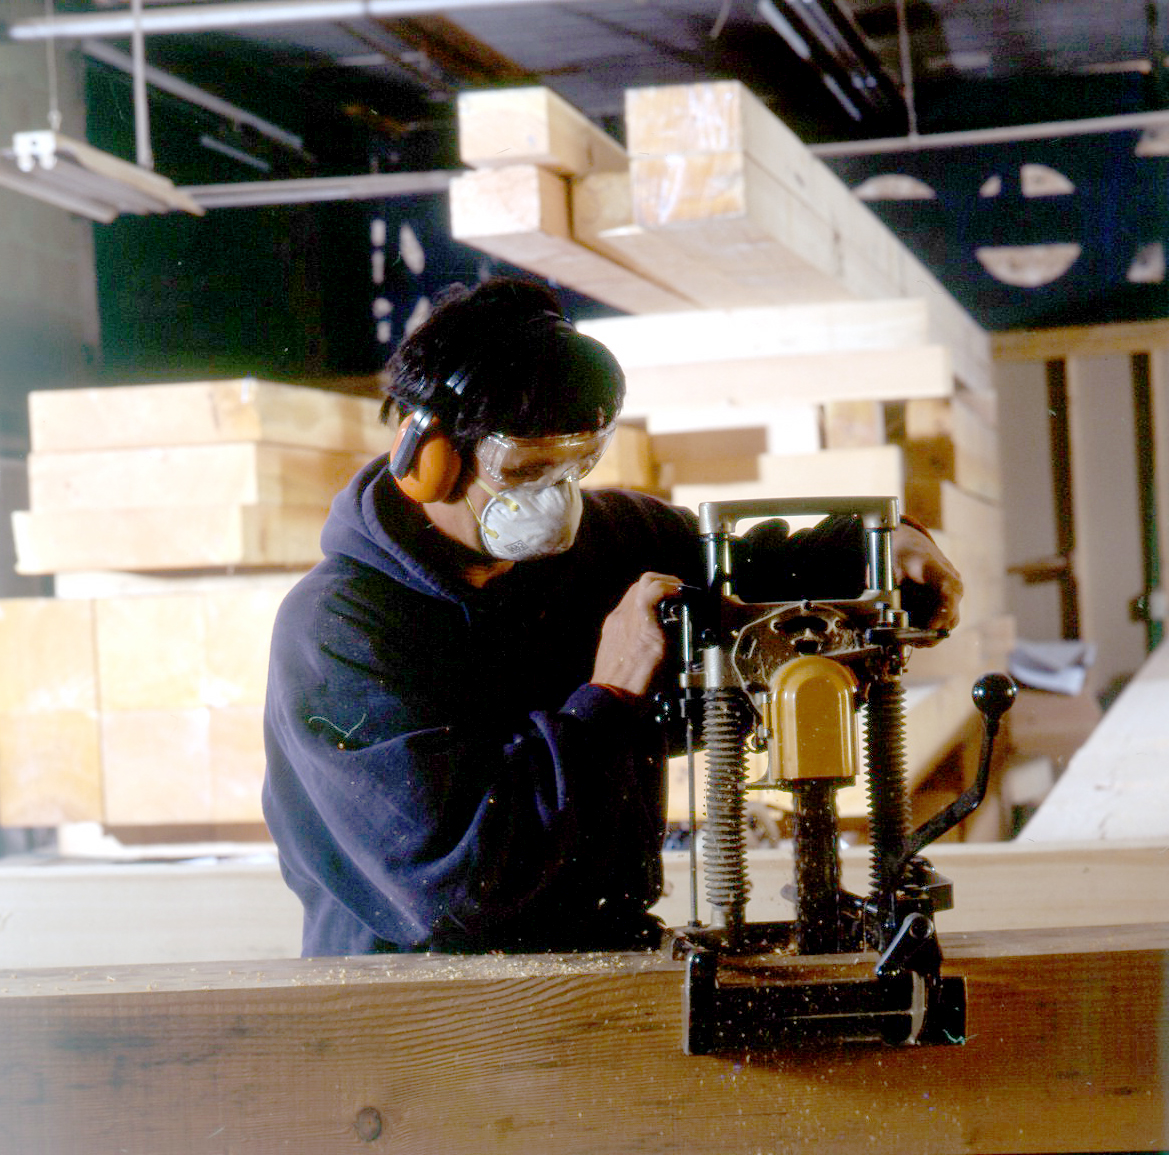
A tenon (a tongue on the end of one board) fits into a mortise (a matching hole in the other). It’s the classic furniture joint — thousands of years old and still the strongest way to join a leg to an apron.
Strength: the king. A well-fit mortise and tenon, glued, is essentially permanent.
How to do it right (beginner method):
- Cut the tenon on a table saw or with a handsaw + chisel.
- Chop the mortise with a sharp chisel, working from both faces to avoid blowout.
- Aim for a fit that pushes together with firm hand pressure — not loose, not hammer-tight.
Best for: tables, chairs, workbenches — anything that takes real load and needs to last decades.
The lesson it teaches: patience and fit. This joint is where you learn that woodworking is really about removing exactly the right amount of wood.
Which joint for your first projects?
- Workbench or shop shelves: butt joints + screws. Build it this weekend.
- Bookshelf: dados for the shelves, pocket holes for the face frame.
- Picture frame: miters with splines.
- Side table: mortise and tenon for the legs (your graduation project).
One rule above all
Glue surface area is everything. Long grain to long grain (dado) is strong; end grain to anything (plain miter) is weak. Once you internalize that one principle, joint selection becomes intuitive: you’re always just trying to give the glue the best possible surface to hold.
Start with butt joints, build something useful this week, and work your way down the list. In a year, you’ll wonder why joints ever seemed intimidating.
Related Reading
- 5 Simple Woodworking Projects for Beginners (Weekend Builds)
- Build Your Own Workbench: A Sturdy DIY Workbench for Any Garage
- Beginner’s Guide to Wood Finishing: Stain, Oil, and Polyurethane
- Router Basics for Beginners: Bits, Jigs, and Your First Cuts
- How to Sharpen Chisels and Plane Blades: A Beginner’s Guide to Razor-Sharp Edges

The DIY Geek — hands-on guides for electronics, 3D printing, woodworking, and smart home.