A small solar project is a useful way to learn how generation, storage, and a load work together. Start with an isolated low-voltage project and a documented kit or design. A panel and battery alone are not a complete charging system, and a tiny gadget project should not be sold as a guaranteed electricity-bill saving.

How a solar panel supplies power
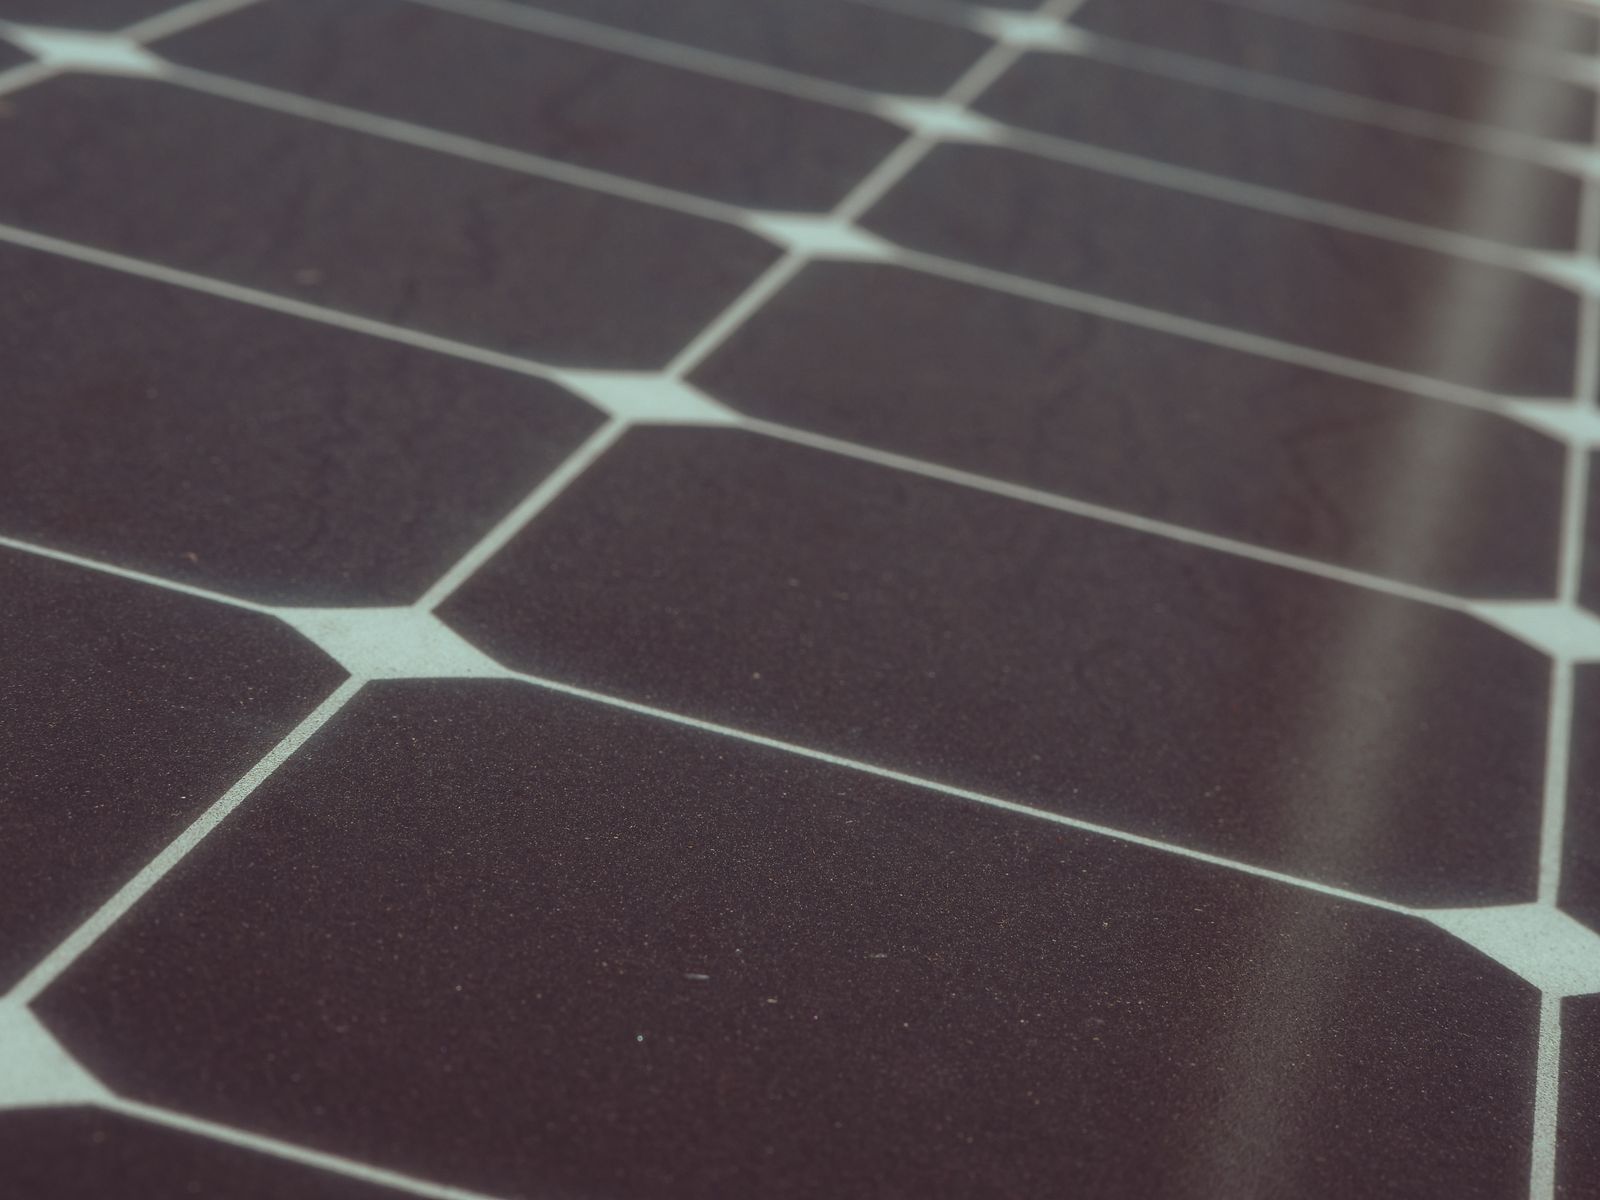
Photovoltaic cells convert sunlight into electrical energy. Panels produce direct current (DC); equipment such as charge controllers and voltage regulators makes that energy suitable for a battery or load. An inverter converts DC to AC when an application requires it. The Department of Energy explains these basic components.
Define the load before choosing a panel
Write down the device’s voltage, power consumption, and operating hours. Energy in watt-hours is power in watts multiplied by hours. For example, a 2W light used for 5 hours needs 10Wh at the load. That is a calculation example, not a measured project result.
The panel’s watt rating is not a promise of continuous output. Sun exposure, shading, weather, orientation, and system losses affect the energy you collect. Allow for those conditions and decide whether the device must keep working through cloudy days. Check the specifications rather than picking a panel size from a generic shopping list.
Check compatibility across the system
| Component | What to check |
|---|---|
| Panel | Rated power, voltage, current, and suitability for the controller. |
| Charge controller | Supported battery voltage and chemistry, PV input limits, and charge settings. |
| Battery | Usable energy, manufacturer charging requirements, protection, and installation conditions. |
| Load or output converter | The voltage and current the device actually needs. A raw panel output is not a USB power supply. |
| Wiring and protection | Cable sizing, connectors, fuse requirements, polarity, and weather protection from the design documentation. |
Use the manuals for the exact components. Do not assume every battery can use the same charging profile. Victron’s SmartSolar installation manual is an example of product-specific battery, PV, wiring, and connection requirements, not a universal recipe for every controller.
Connection order comes from the manual
Do not follow a generic “panel first, battery second” instruction. For the linked SmartSolar models, Victron normally specifies connecting the battery and allowing voltage recognition before connecting PV; a documented exception applies when voltage is manually configured. Other products may differ. Follow their installation and disconnection instructions, including required protection and settings.
Choose a manageable first project
A complete solar garden light or manufacturer-matched low-voltage kit is a sensible starting point. Study its parts list and wiring diagram before buying. If you build from separate components, document how each rating matches the next component and how the load is protected. Stop if a required rating or connection instruction is missing.
Set a total budget for the complete system, including mounting, protection, and replacement parts. Compare that with a ready-made product if your goal is simply to power a light. The value of a learning project may be understanding the system rather than recovering the purchase price.
Important boundaries
Low voltage does not eliminate short-circuit or battery hazards. Keep terminals protected and use the specified wiring and overcurrent protection. Do not improvise charging circuits for loose or damaged lithium cells. Roof installations, household AC wiring, and grid connections need a separate professionally designed approach and applicable approvals; this guide is not an installation plan for those systems.
Inspect and record the results
For an assembled, documented kit, use its recommended checks before operation. Record where the panel is placed, the load’s operating hours, and whether the battery recharges adequately. If performance is poor, review shading and the energy budget before assuming a larger battery will fix it. Keep a copy of the manuals with your project notes.
Sizing the battery bank
The battery is where beginners get tripped up most, because the number on the label isn’t the number you get to use. A 12V 10Ah battery stores 120 watt-hours on paper (12 × 10), but how much of that is actually usable depends on the chemistry.
For lead-acid (including AGM and gel), plan on using only half. Draining one past 50% regularly shortens its life fast, so that 120Wh battery gives you about 60Wh of honest, repeatable capacity. For lithium iron phosphate (LiFePO4), you can use roughly 80–90% — that same 120Wh label gives you close to 100Wh in practice.
Here’s the simple sizing math. Add up your load in watt-hours per day (watts × hours). Multiply by the number of cloudy days you want to ride through — for a shed light, one or two days is usually plenty. Then divide by your usable fraction (0.5 for lead-acid, 0.85 for LiFePO4). The result is the minimum rated capacity to shop for.
One more thing the spec sheet won’t tell you: batteries are rated at room temperature. A lead-acid battery sitting in an unheated shed in January can lose a quarter of its capacity or more. If your project lives outdoors year-round, oversize by 25–30% or bring the battery inside during the cold months.
A real worked example: shed light plus phone charger
The load. A 3W LED bulb running 4 hours each evening: 12Wh. A phone charge takes roughly 10–15Wh; call it 12Wh to be safe. Daily total: about 24Wh. Round up to 30Wh to cover conversion losses.
The battery. One cloudy-day buffer means 30Wh usable. With LiFePO4 (0.85 usable), that’s 30 ÷ 0.85 ≈ 35Wh minimum — a small 12V 6Ah LiFePO4 pack (72Wh rated) covers it comfortably. With lead-acid (0.5 usable), a 12V 7Ah sealed lead-acid (84Wh) is the common pick.
The panel. Assume 4 hours of decent sun. The panel needs to replace 30Wh in 4 hours: 30 ÷ 4 = 7.5W, before losses. Controllers and wiring eat 15–25%, so shop for a 15–20W panel.
The controller. A 5A PWM charge controller rated for your battery chemistry is plenty at this size. Set it to the right battery type before connecting anything.
Total parts list: 20W panel, 5A PWM controller, 12V 7Ah sealed lead-acid (or 6Ah LiFePO4), inline fuse on the battery positive, a 12V LED bulb, and a 12V-to-USB adapter.
Common beginner mistakes
Buying the panel first. Always size the load first, then the battery, then the panel. The order matters.
Skipping the charge controller. A panel wired straight to a battery will overcharge it on sunny days. It’s the cheapest component in the system; don’t skip it.
Ignoring wire size. At 12V, even a few feet of thin wire drops enough voltage to matter. When in doubt, go one gauge thicker than the calculator suggests.
Forgetting the fuse. A fuse on the battery’s positive terminal, rated just above your maximum expected current, costs a dollar and is the single most important safety component in the system.
Trusting the panel’s watt rating as a daily promise. That rating is measured in a lab at perfect noon. Budget your daily energy around real sun hours for your season, not the sticker.

The DIY Geek — hands-on guides for electronics, 3D printing, woodworking, and smart home.