A miter saw is the tool that turns “close enough” into exactly right. It cuts lumber to length at a perfect 90 degrees, cuts angles for picture frames and trim, and repeats the same cut dozens of times without drifting. If you build shelves, cut trim, or frame walls, a miter saw will save you more time than almost any other tool in your shop.
This guide covers how a miter saw works, which type to buy, how to set it up square, and how to make the four cuts a beginner actually needs: crosscuts, miter cuts, bevel cuts, and compound cuts. No experience needed.
What Is a Miter Saw and What Can It Do?
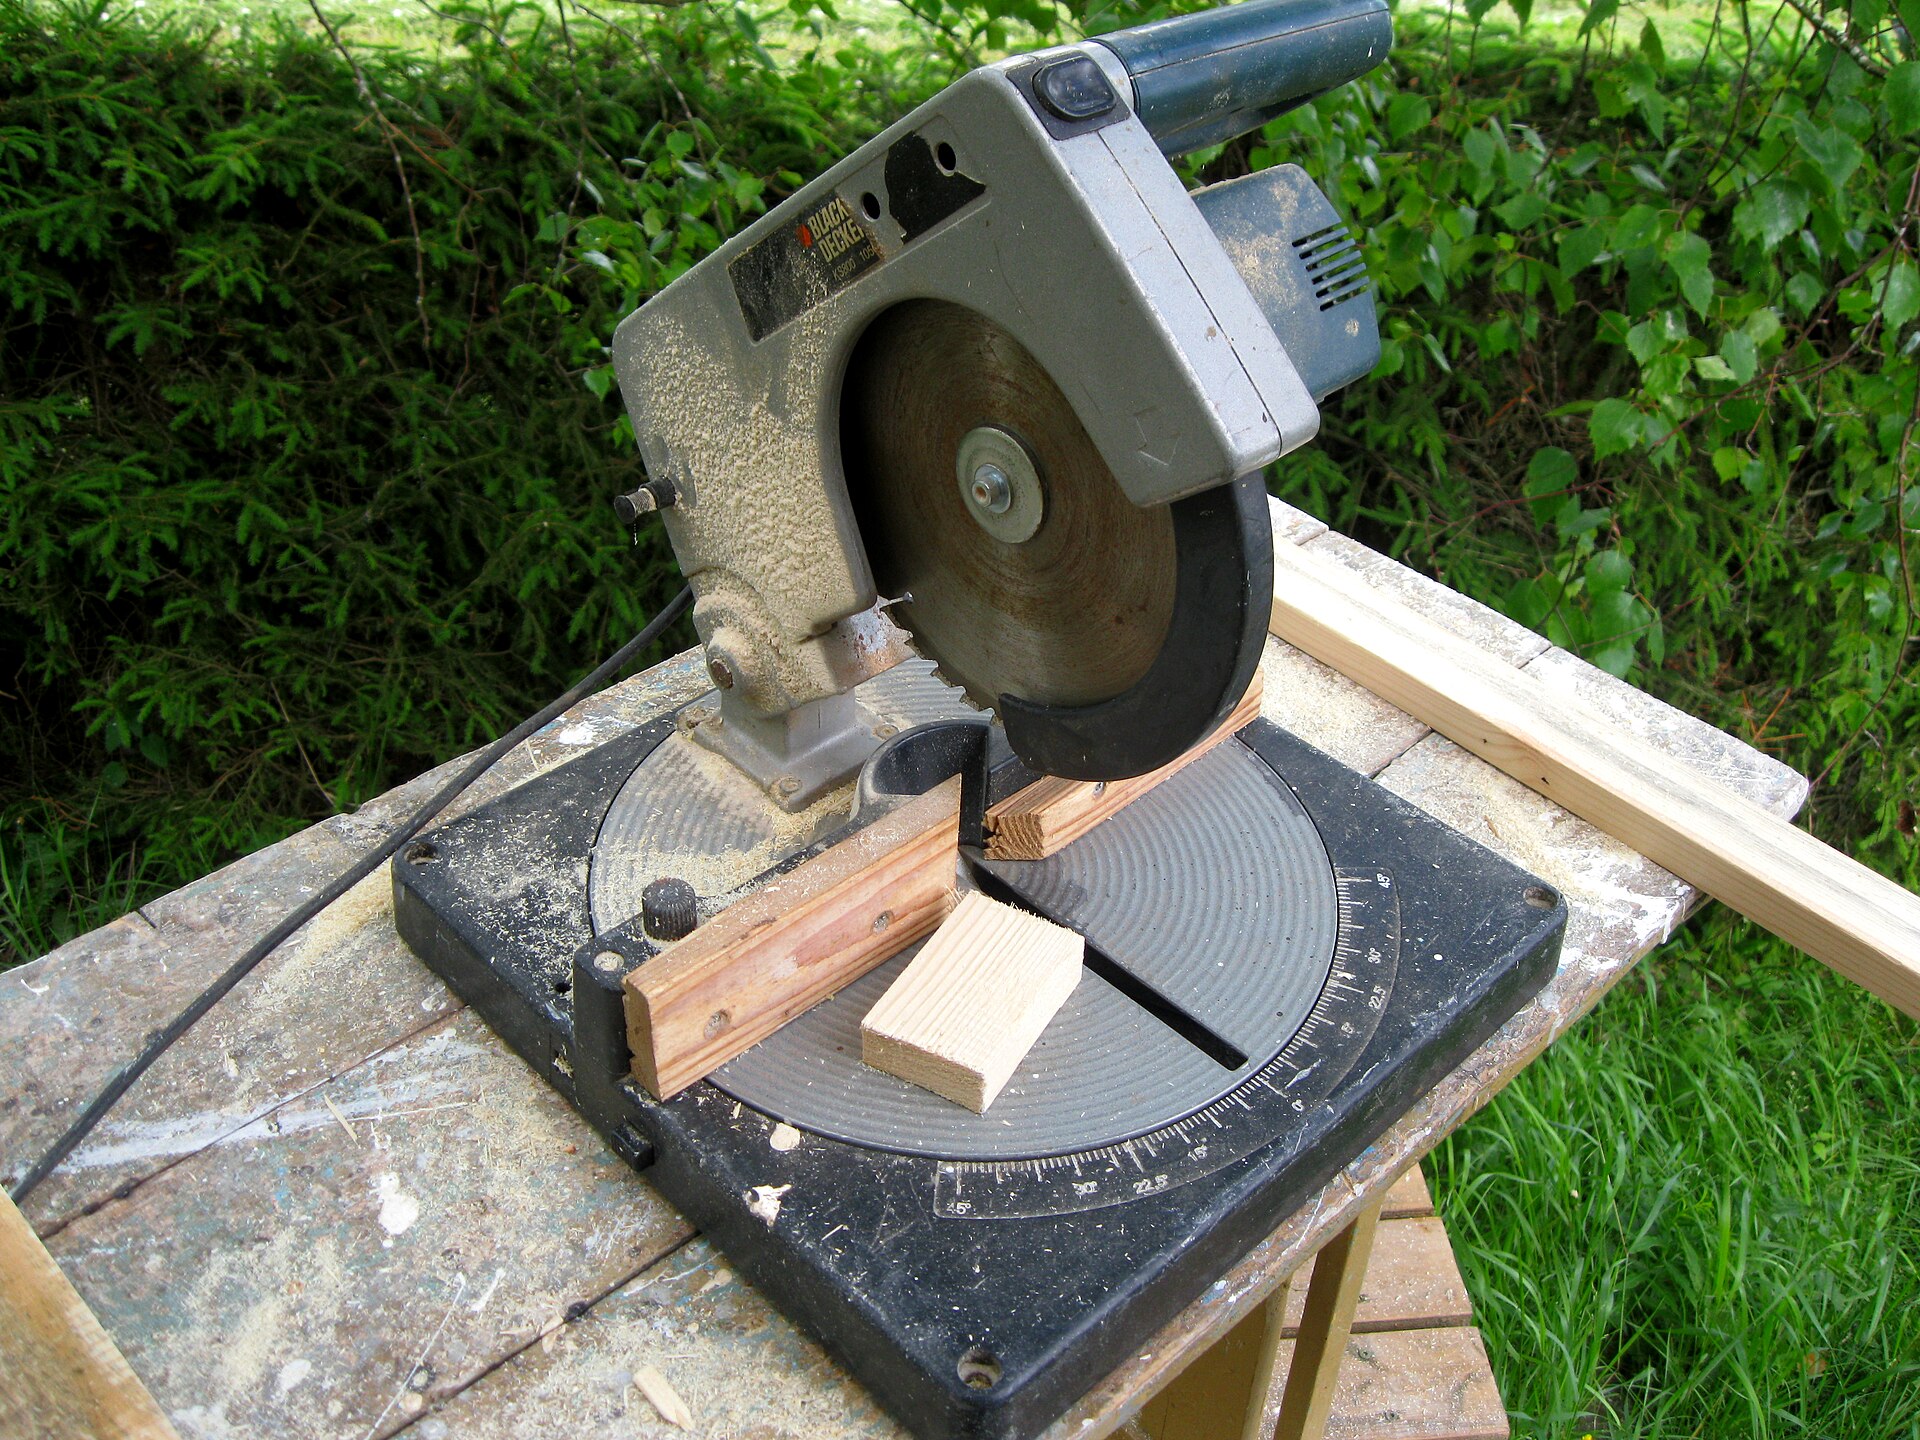
A miter saw is a circular saw blade mounted on a pivoting arm above a flat table. You place a board flat on the table, push it against the fence, lower the spinning blade through the wood, and the blade comes back up when you release it. The head swings left and right for miter cuts and tilts for bevel cuts, with preset stops — called detents — at the angles you use most.
A miter saw is the right tool for:
- Crosscutting lumber to length — 2x4s, deck boards, trim, and shelving
- Cutting accurate 45-degree miters for picture frames, door casing, and baseboards
- Cutting bevels for angled edges and joints
- Repeating the same cut many times, for example cutting twenty identical studs or balusters
- Trim work, where a cut that is off by a degree shows as a visible gap
A miter saw is not the right tool for:
- Ripping boards to width — that is a table saw or circular saw job
- Cutting curves or circles — a jigsaw handles those
- Cutting full sheets of plywood — break them down with a circular saw first
- Cutting metal, masonry, or tile without a specialty blade
If you are still deciding which saw to buy first, read our comparison of circular saws, miter saws, table saws, and jigsaws before spending money. The short version: a circular saw is the most versatile first saw, and a miter saw is the best second saw, because it makes every crosscut fast and square.
Types of Miter Saws: Basic, Compound, and Sliding Compound
All miter saws do the same basic job, but they differ in what angles they can cut and how wide a board they can handle.
Basic miter saw. The head swings left and right for miters but does not tilt. It makes crosscuts and miters only — fine for framing lumber and simple trim, and the cheapest option.
Compound miter saw. The head swings for miters and tilts to one side for bevels, so it can cut both angles at once — a compound cut. This is the type most people should buy. It handles crown molding, angled trim, and picture frames, and it costs only a little more than a basic saw.
Sliding compound miter saw. The head slides forward and back on rails, so the blade can cut much wider boards — a 10-inch sliding saw can crosscut a 12-inch board in one pass. If you cut wide shelving or 2×12 lumber, the sliding feature is worth the extra cost and weight. If you mostly cut 2x4s and trim, a non-sliding compound saw is lighter, cheaper, and easier to store.
10-inch vs 12-inch. A 10-inch saw is lighter, cheaper, and its blades cost less. A 12-inch saw cuts wider and thicker boards. For a first miter saw, a 10-inch compound saw is the sweet spot — it handles 2×6 lumber and 4-inch trim comfortably, and you can cut wider boards in two passes by flipping them over.
Setting Up Your Miter Saw
A miter saw is only as accurate as its setup. Spend ten minutes on this before your first cut.
Put it on a stable surface. A wobbly bench makes wobbly cuts. Use a solid workbench, a miter saw stand, or sawhorses with a plywood top, at roughly waist height.
Support long boards. A board that hangs off the end of the saw table will tip, bind the blade, and ruin the cut. Support both ends of any board longer than about 3 feet with a roller stand or a sawhorse at the same height as the saw table.
Square the fence and blade. New saws are usually close to square out of the box, but shipping knocks them around. Check it with a speed square: hold the square against the fence and the blade (with the saw unplugged), and look for a gap. If the blade is not square to the fence, loosen the fence bolts, adjust, and retighten. Then check the 90-degree stop the same way — the blade should be exactly vertical. Check this every few months, or any time the saw has been moved.
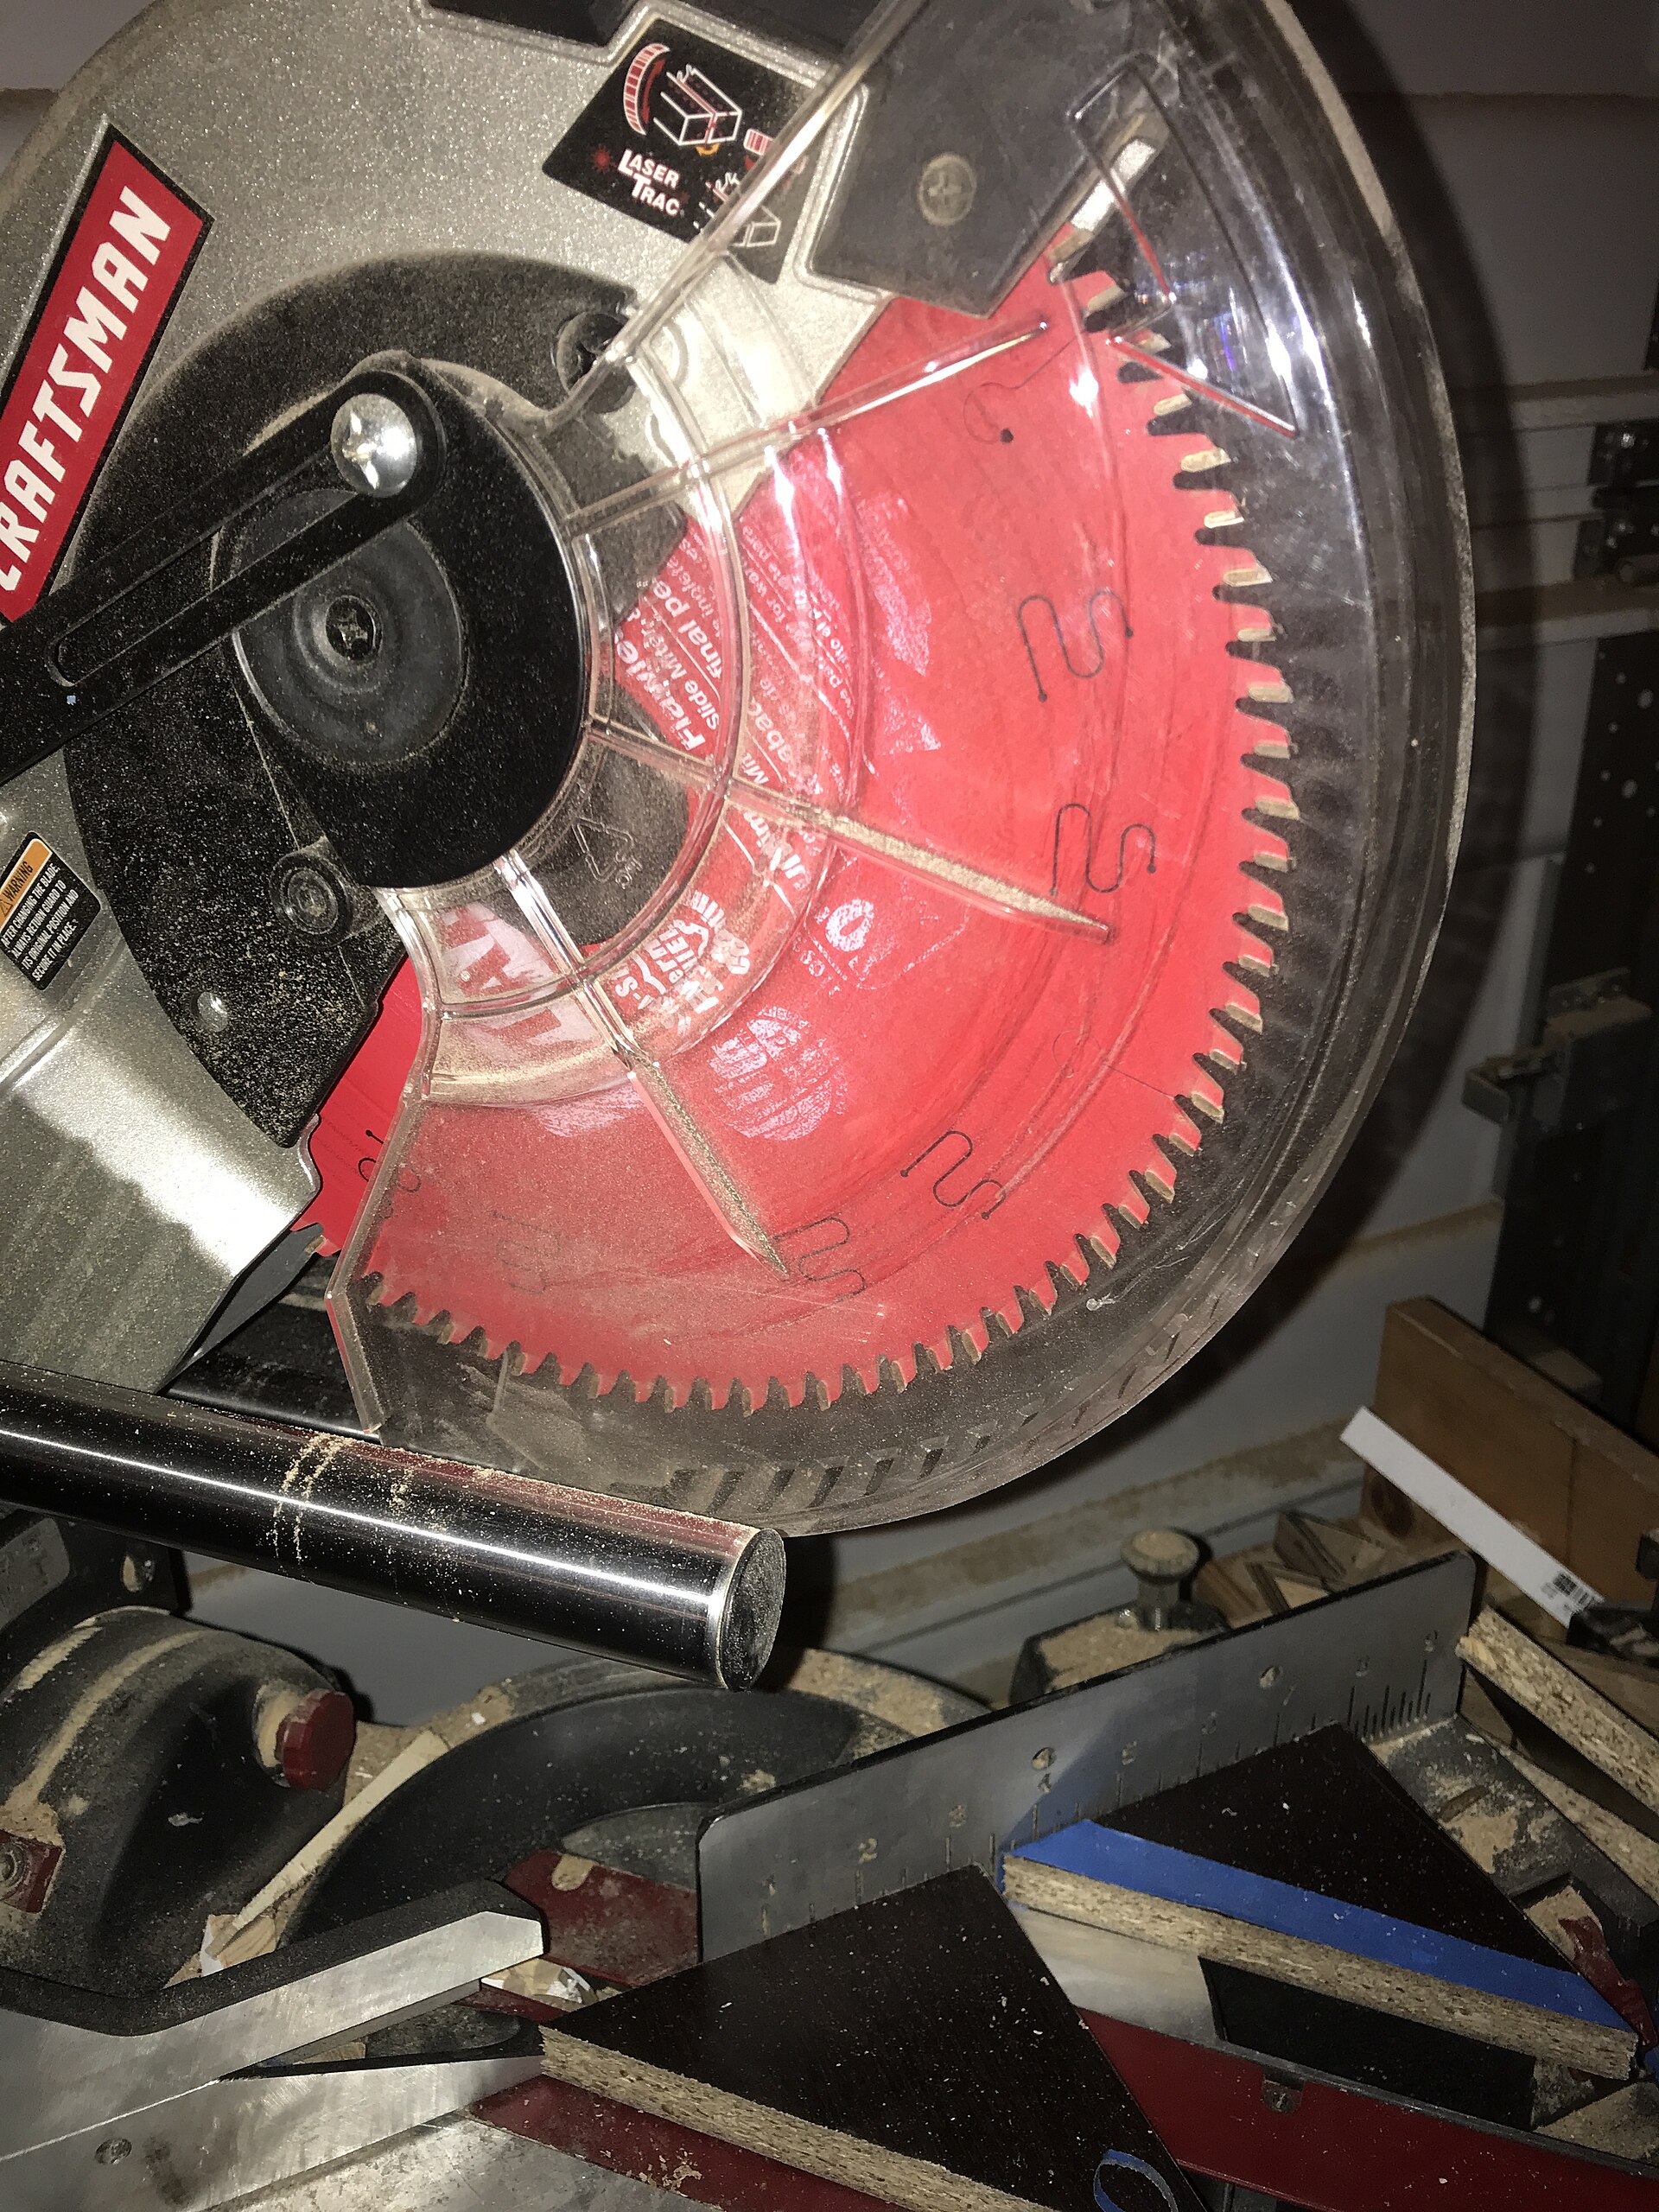
Fit the right blade. The blade that comes with the saw is usually a general-purpose 40-tooth blade, fine for framing lumber. For trim and anything that will be visible, fit a fine-finish blade with 60 to 80 teeth — slower, but far cleaner with less splintering. Always unplug the saw before changing a blade.
The Four Cuts Every Beginner Needs
1. The crosscut
The crosscut is the cut you will make most often: a straight 90-degree cut across the grain to bring a board to length.
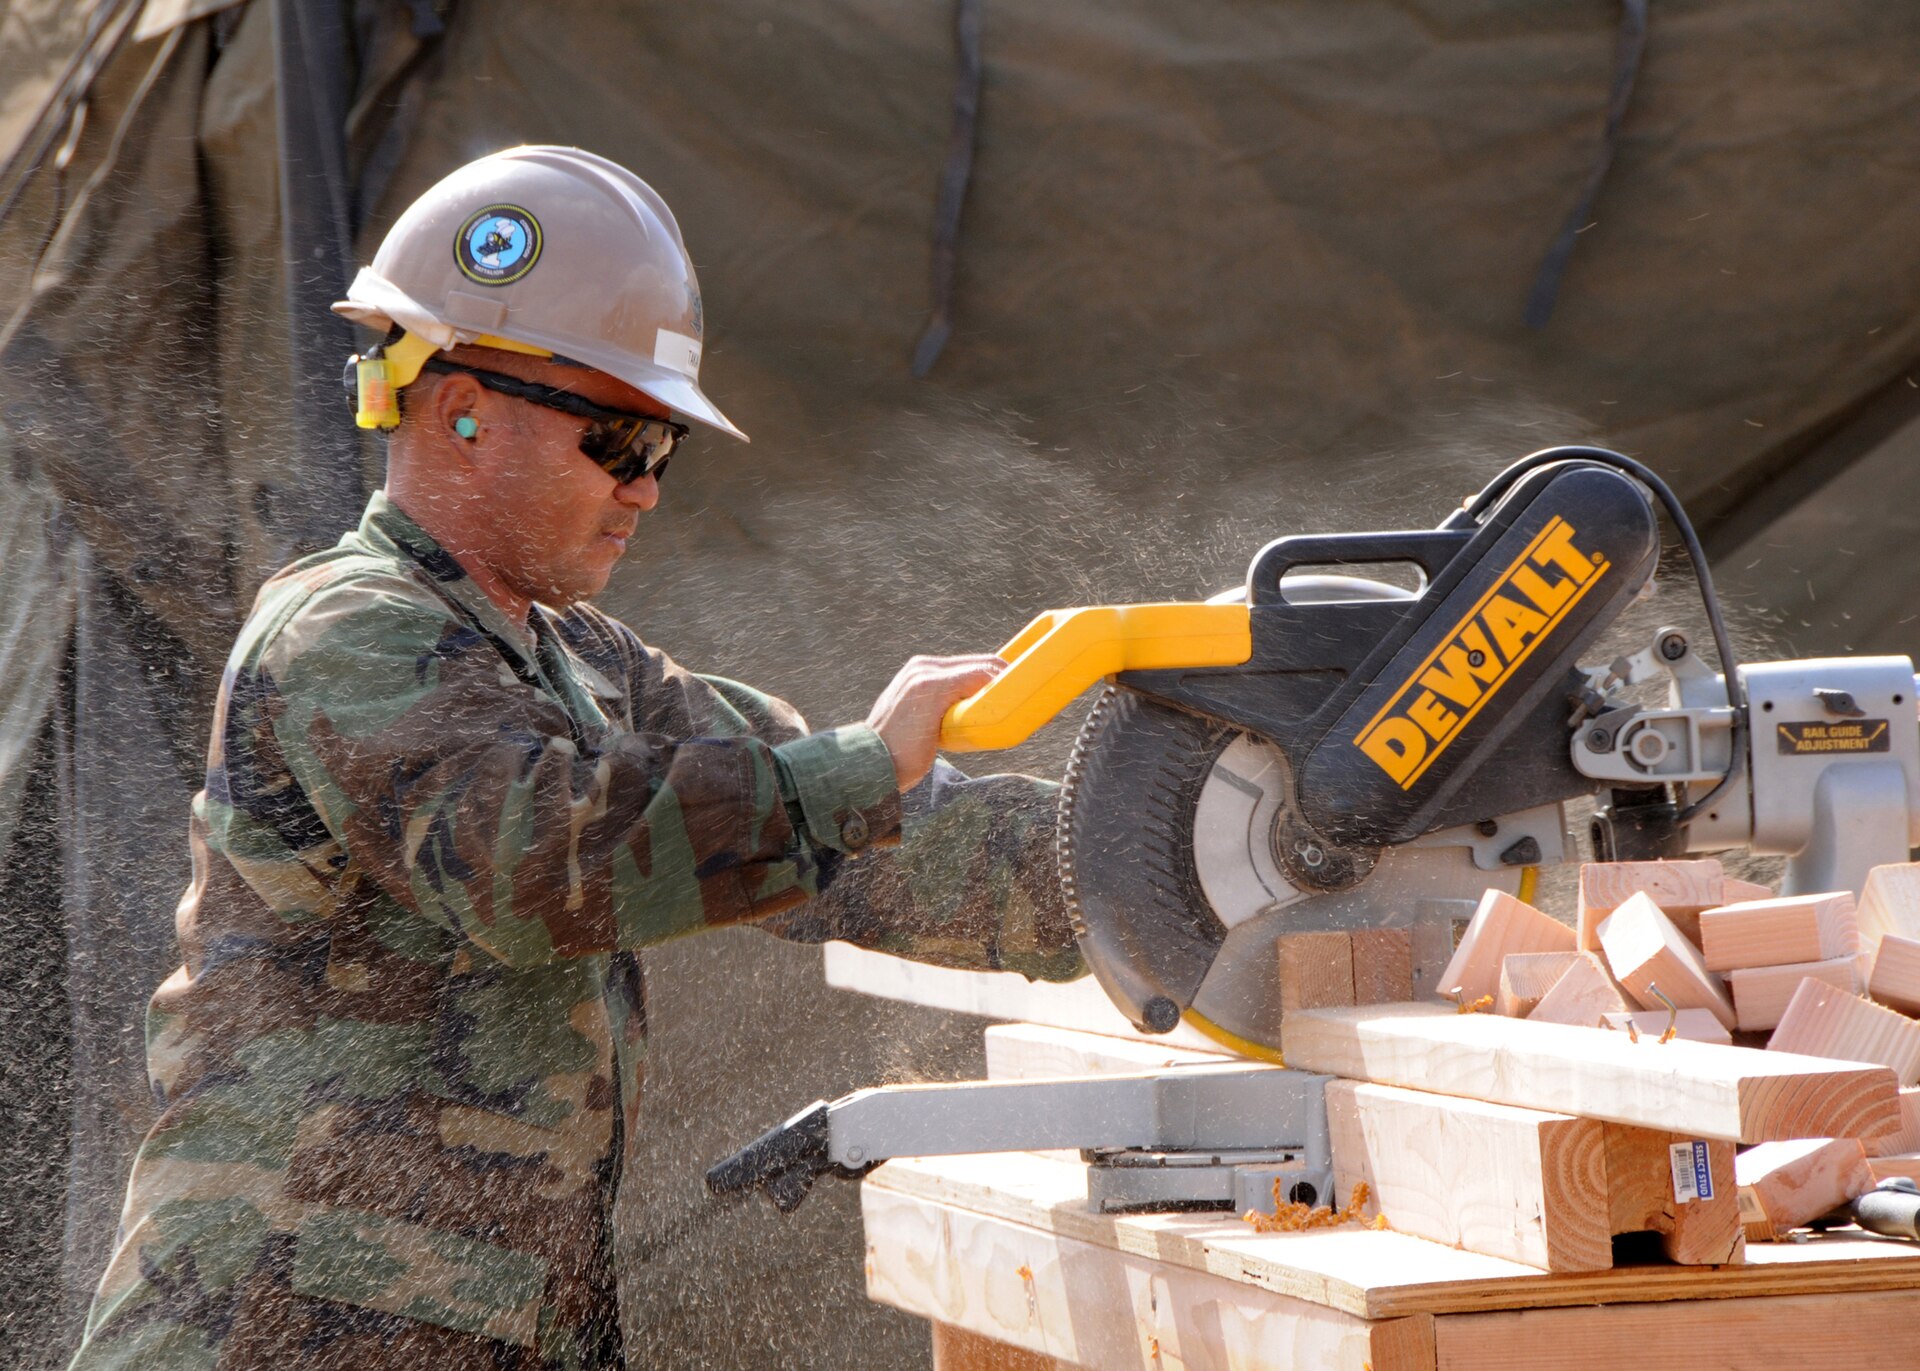
Set the miter angle to 0 degrees and the bevel to 0. Mark your cut line, line up the blade with the line, and hold the board firmly against the fence with your hand at least 6 inches from the blade. Let the blade reach full speed, lower it smoothly through the board, then release the trigger and let the blade stop completely before you lift it back up. Lifting a spinning blade drags it across the cut and leaves a rough edge.
2. The miter cut
A miter cut is an angled cut across the face of the board, used for corners — picture frames, door casing, and baseboards all meet at 45-degree miters.
Swing the head to 45 degrees and lock it. Cut one piece at 45 degrees left and the matching piece at 45 degrees right, and the two pieces meet at a clean 90-degree corner. Before you cut your good lumber, cut two scraps and hold them together to check the joint. If there is a gap on the inside, your saw is cutting a hair past 45 degrees; if the gap is on the outside, it is cutting a hair short. Adjust by half a degree and test again.
For more on where miter joints work and where they need help, see our guide to woodworking joints for beginners.
3. The bevel cut
A bevel cut tilts the blade so the cut is angled through the thickness of the board instead of across its face. It is used for angled edges, chamfers, and joints where two pieces meet at an angle through their thickness.
Tilt the head to the bevel angle you need — most compound saws tilt to 45 degrees on one side. Keep the board flat on the table and tight against the fence, and cut the same way as a crosscut. Mark the line on the top face and line the blade up with that, and test on scrap before cutting the real piece.
4. The compound cut
A compound cut combines a miter angle and a bevel angle at the same time. Crown molding is the classic example: the molding sits at an angle against the wall and ceiling, so each end needs a miter and a bevel together. Set both angles, cut slowly, and test on scrap — compound cuts are the hardest to fix after the fact.
Measuring and Cutting Accurately
Accuracy on a miter saw is mostly about measuring, not about the saw itself.
Measure twice, cut once. Mark the board with a sharp pencil, not a thick marker — a fat line can hide a sixteenth of an inch. Mark the side of the line the blade should cut on, and remember the blade removes about an eighth of an inch of wood, called the kerf. Line the blade up so it cuts just on the waste side of your mark.
Use a stop block for repeat cuts. When you need several boards the same length, clamp a block of wood to the fence at the right distance and push each board against it before cutting. Every board comes out identical, and you do not have to measure each one.
Cut the longest pieces first. If you make a mistake on a long piece, you can usually cut it shorter and use it somewhere else. A piece cut too short is scrap.
Let the saw do the work. Push the blade down smoothly and steadily. Forcing it through the wood makes the blade deflect, which leaves a cut that is not square. If the saw is struggling, the blade is dull or the wrong blade for the material — change the blade, do not push harder.
Safety: The Rules That Matter
A miter saw is one of the safer power saws because the blade is guarded and the board stays still, but it still deserves respect.
- Keep your hands at least 6 inches from the blade, and never reach across the blade’s path. Use a clamp for short pieces — never hold a piece shorter than about 8 inches by hand.
- Let the blade stop before lifting it. A spinning blade dragged back up through the cut can catch the wood and throw it.
- Keep the blade guard working. Never tie it up or remove it. If it sticks, clean the sawdust out of the pivot.
- Wear safety glasses and hearing protection.
- Unplug the saw before changing blades or making adjustments.
- Never cut freehand. The board must always be flat on the table and tight against the fence. A board that is not against the fence can twist into the blade and kick back.
- Wait for full speed before cutting, and never force a cut.
Common Beginner Mistakes
Cutting on the wrong side of the line. The blade eats about an eighth of an inch. Cut on the waste side of the mark or every board comes out an eighth short.
Not supporting long boards. An unsupported board tips as the cut finishes, binds the blade, and leaves a splintered or angled end.
Lifting the blade while it spins. This drags the teeth across the fresh cut and leaves a rough, torn edge. Release the trigger, wait, then lift.
Trusting the laser or the factory settings. The laser is a guide, not a guarantee — check it against a real cut on scrap. And the saw was square when it left the factory, not necessarily after shipping.
Cutting trim with a framing blade. A 24-tooth blade rips through 2x4s fast but splinters trim badly. Fit a fine-finish blade before cutting anything that will be seen.
What to Build First
A miter saw earns its place fast. Good first projects are a simple picture frame (four 45-degree miters), a set of floating shelves, a raised garden bed frame (see our guide to building a raised garden bed), or new baseboards in one room. Each one teaches a different cut.
Once the saw is set up square and you have cut a few practice joints, the rest is repetition. Measure carefully, support the board, test angles on scrap, and let the blade stop before you lift it.
Quick Checklist Before Every Cut
- Saw is square to the fence and the blade is vertical
- Board is flat on the table, tight against the fence, supported on both ends
- Hands are at least 6 inches from the blade, short pieces are clamped
- Blade is the right one for the material and is sharp
- Blade is on the waste side of the cut line
- Blade reaches full speed before it touches the wood, and stops fully before it comes back up
A miter saw is a simple tool that rewards a little patience. Set it up right, practice on scrap, and your cuts will be square and your joints will close.

The DIY Geek — hands-on guides for electronics, 3D printing, woodworking, and smart home.