Upgrading from a basic plug-in soldering iron to the budget LCD iron originally described here as an “80W 110V” model improved my electronics projects. My experience includes repairing small electronics and building custom circuits. This review covers those practical impressions, with some important limits on what the original notes establish.
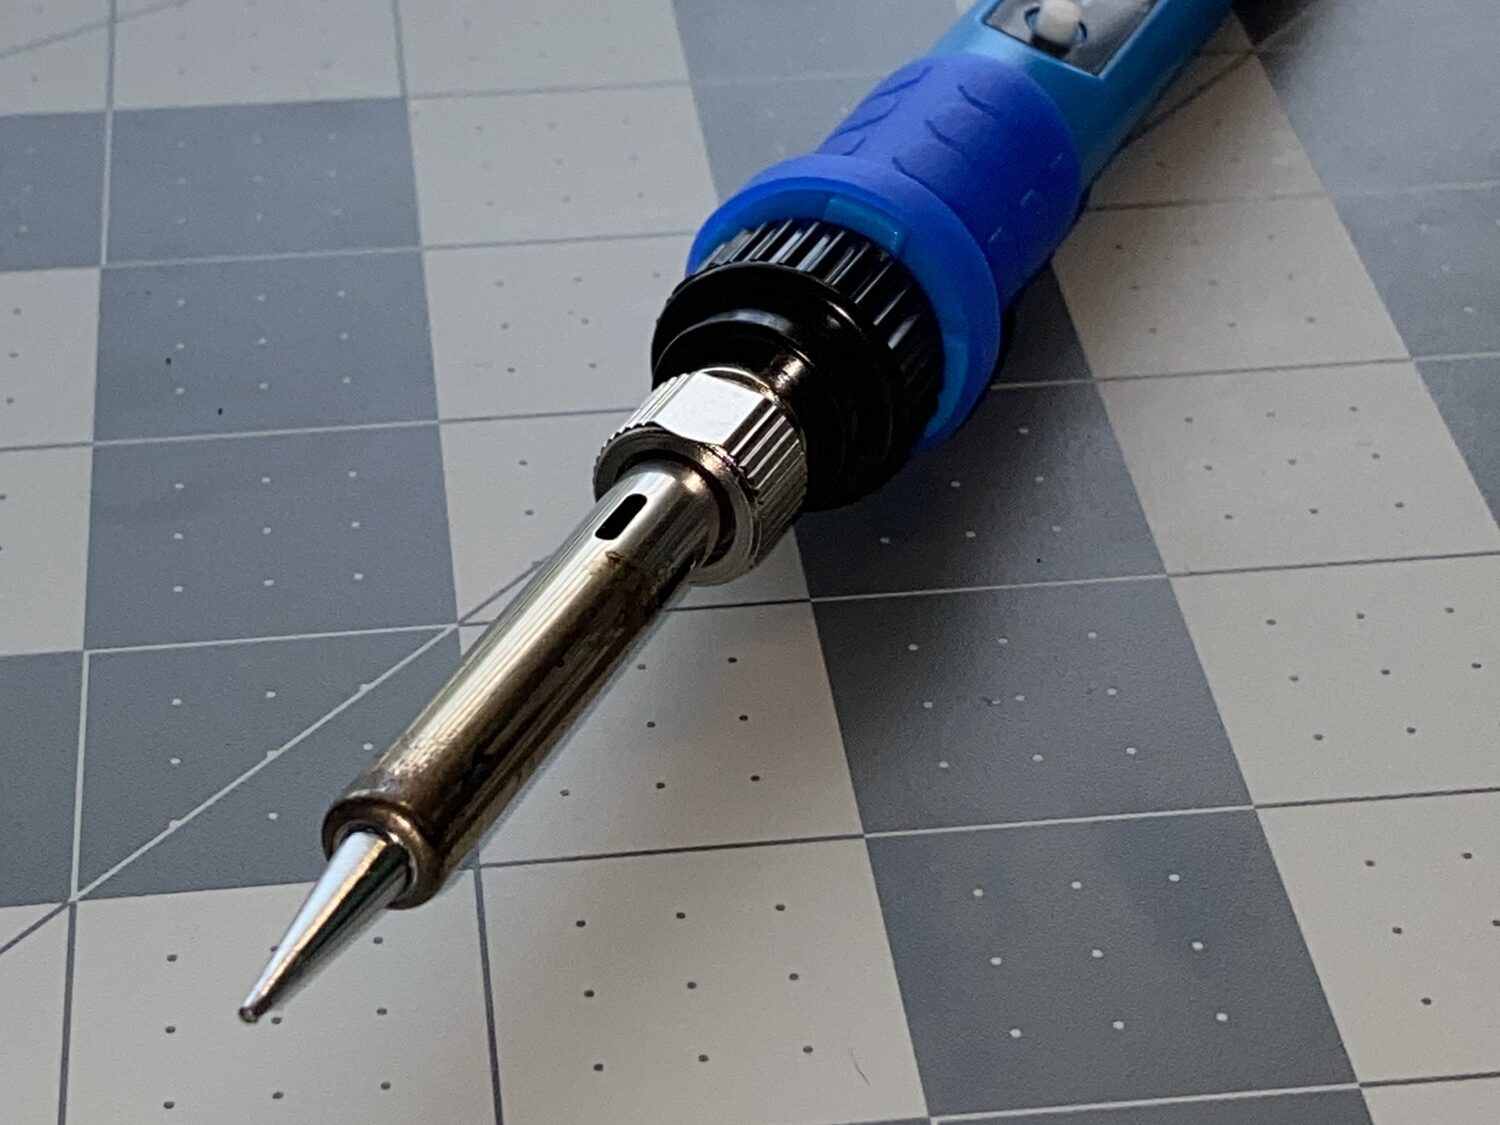
The original product photograph retained from this review. Check the label and documentation on the exact unit offered by a seller; a similar-looking iron is not necessarily the same product.
What I liked in everyday use
The silicone grip felt comfortable, and the iron felt lightweight and well balanced during small electronics work. The LCD made the displayed temperature setting easy to read and adjust. My original notes describe quick warm-up, but do not record a repeatable timing method or an independently measured tip temperature, so the earlier “under 15 seconds” statement should not be treated as a verified specification.
I liked the thin point tip for reaching tight spaces. For bigger contacts, I switched to a chisel tip to give the joint more contact area. A narrow tip can improve access, but it does not eliminate the risk of touching nearby parts or overheating a joint.
What the display cannot establish by itself
A readable LCD does not prove that the working end of a soldering tip matches the displayed temperature. HAKKO’s official inspection guidance describes measuring the tip with a dedicated soldering tester and notes that changing tip shape can change the temperature. That guidance explains why an independent measurement matters; it is not a test result or certification for the iron reviewed here.
Similarly, an “80W” label does not document how quickly this particular iron recovers temperature during a joint. This article contains no controlled comparison, long-term durability test, or verification of electrical safety or ESD performance.
The tip care I actually do
The single biggest difference between a soldering iron that lasts and one that doesn’t is tip care, and it costs nothing. Here’s my routine with this iron:
Before the first use, and after every session, I tin the tip — melt a little fresh solder onto it so the working surface is coated and shiny, then wipe it clean. A tinned tip transfers heat dramatically better than a dry, oxidized one, and it keeps the tip from corroding between uses. When I finish for the day, I tin it once more before switching off; the solder coating protects the tip while it sits in the drawer.
For cleaning during work I use brass wool — the coiled brass shavings sold for exactly this. A quick plunge wipes off oxidation without the thermal shock of a wet sponge, which repeatedly chills and reheats the tip. Either works; brass wool is simply gentler over time.
One thing I never do: file or sand the tip. Soldering tips are copper cores with an iron plating, and that plating is what the solder wets to. Filing through it exposes raw copper, which dissolves into solder within a few joints and ruins the tip. If a tip is too far gone to tin, it gets replaced — and that loops back to the buying check about confirming replacement tips exist before you buy the iron.
What “temperature recovery” feels like in practice
The article notes that an “80W” label doesn’t document how quickly this particular iron recovers temperature during a joint. Here’s what that means at the bench, from experience:
Touch the tip to a small joint — a resistor leg on a PCB — and it solders instantly. Touch it to something with real thermal mass, like a ground plane or a chunky connector pin, and the joint sucks heat out of the tip faster than the element replaces it. The solder goes sluggish instead of flowing. The fix is patience, not force: hold the tip in place, let the joint come fully up to temperature, and don’t feed solder until the existing solder flows freely. Rushing it is how you get a cold joint that looks soldered and isn’t.
This is also where tip choice matters more than wattage. The thin point tip this iron shipped with is great for tight spaces but has little thermal mass of its own; switching to the chisel tip for bigger joints (as the article mentions) gives the joint more contact area and more stored heat. Matching the tip to the joint does more for recovery than any number on the box.
Beginner mistakes this iron didn’t save me from
A better iron improves the experience; it doesn’t prevent the classic errors. Three I still catch myself making:
Cold joints. The solder looks blobby and dull instead of smooth and shiny, because the joint never got hot enough for the solder to flow and bond. It happens when you melt solder onto the iron tip and dab it on, instead of heating the joint and letting the joint melt the solder. A cold joint can work intermittently for months and then fail — always reheat and reflow a suspect one.
Overheating the board. The opposite error: holding the iron on a pad so long the copper pad lifts off the PCB or a nearby plastic connector softens. Small boards and cheap PCBs are the most vulnerable. The discipline is the same as above — get in, get the joint flowing, get out. If a joint isn’t flowing after several seconds, stop, let it cool, and reconsider the tip or temperature rather than leaning on it.
Wrong solder for the job. Most hobby electronics solder is 60/40 tin-lead rosin core, which melts around 183°C and is forgiving to work with. Lead-free solder melts hotter (around 217°C) and needs a bit more heat and patience. Neither is “better” for a beginner in any absolute sense, but you should know which one you’re holding — the technique adjusts slightly, and the ventilation advice in the buying-checks section applies either way.
When I’d outgrow it
This iron was the right upgrade from a basic plug-in iron: temperature control, a readable display, comfortable grip. The honest next step up from here isn’t a more expensive iron of the same type — it’s a soldering station, the kind with a separate base unit and a lightweight handpiece.
What a station adds is mostly about recovery and convenience: a bigger heating element that holds temperature under load, presettable temperatures per task, and usually a proper holder and cleaning setup built in. For the small electronics and custom circuits I do, this iron hasn’t hit its limit yet. But if I started doing long sessions, heavy connectors, or production-style repeat work, the station is where I’d look — not at a shinier version of the same stick iron.
That framing is also the buying advice in miniature: buy for the work you actually do now, confirm the consumables (tips) exist, and upgrade when the work — not the marketing — tells you to.
Buying checks that matter more than appearance
- Identify the exact unit. Obtain the manufacturer, model, voltage rating, and instructions. Do not assume a current listing matches the unit in the photograph.
- Check replacement parts. Confirm the correct tip family and whether the seller supplies compatible replacements. A tip that fits a similar-looking iron may not fit this one.
- Match the tip to the work. Choose a shape that reaches the joint and gives suitable contact. HAKKO’s tip-selection guide explains how access, nearby components, and the workpiece affect the choice.
- Budget for a usable workspace. Include a stable heat-resistant iron holder, appropriate tip-cleaning supplies, and ventilation or fume extraction. Follow the exact iron’s instructions for changing tips and shutting it down.
My recommendation, with limits
This iron was a useful upgrade for my own small electronics projects. That experience supports a limited personal recommendation, not a blanket claim that every similarly advertised budget iron is reliable. Before buying, establish what the exact product is, whether it has usable instructions and replacement tips, and whether it suits your work. For technique and workspace preparation, see the beginner soldering guide.
The original Amazon link is retained as a historical reference. Its current destination and product availability have not been established by this review.

The DIY Geek — hands-on guides for electronics, 3D printing, woodworking, and smart home.
Pingback: Budget DIY Electronics Tools | The DIY Geek