
The TwoTrees TTS-10 PRO is a desktop diode laser engraver with a 10W laser module and a standard 300 × 300mm work area. This review began as my early setup impressions: finding the mobile app and getting started with LaserGRBL. The specifications and buying considerations below give those impressions more context.
Review scope: This is an introductory setup review, not a measured cutting benchmark or long-term durability test. It does not establish cutting thickness, production speed, or repeatability. Manufacturer specifications are identified separately from my experience.
Key specifications and what they mean
| Manufacturer-listed item | Buying consideration |
|---|---|
| 10W laser power; 55W overall power | These are different ratings. The overall electrical figure is not the laser output. |
| 300 × 300mm engraving area | Check the size of your design, fixtures, and material before ordering. |
| 3.6kg machine weight | Allow additional bench space for the surrounding protective setup. |
| Up to 30,000mm/min advertised engraving speed | This is a manufacturer rating, not a cutting speed demonstrated in this review. |
| Computer, Wi-Fi, TF-card, and mobile-app control | Verify the connection procedure for your controller and firmware. |
Source: TwoTrees TTS-10 PRO product page, checked October 2, 2026. Bundle contents and product revisions can vary; check the exact listing and manual before buying.
My early software experience
The manual I used referred to “the APP” without making its name clear. After searching, I found MKSLaser (App Store listing). It gave me a way to try image engraving and motion controls from a phone. That was useful for getting acquainted with the machine, but it was not the same workflow as desktop laser software.
When I moved beyond the app, I installed LaserGRBL on my laptop. The interface looked daunting at first, but I was able to get started. That is an early usability impression, rather than evidence that every software function or connection mode has been tested.
LaserGRBL is a free, open-source Windows application for hobby laser engraving. TwoTrees also lists LightBurn compatibility. Choose software for your operating system and controller, and follow the official TTS-10 PRO setup documentation for assembly, calibration, and connection guidance. Download software from its official source.
Material limits to understand before buying
Do not read a broad “wood, acrylic, leather, and metal” list as a promise that every sample can be safely processed or cut through. Engraving a surface and cutting a sheet are different tasks. Check the material supplier’s information and the machine documentation before making a test.
Clear acrylic is an important limitation. Blue diode lasers do not directly cut ordinary clear acrylic reliably because it does not absorb the beam sufficiently. Dark, suitable acrylic behaves differently; pigment and formulation matter. xTool’s acrylic guidance explains this general diode-laser limitation; its machine-specific settings are not TTS-10 PRO settings.
This review has no documented metal-cutting results or verified thickness tests. If those capabilities are essential to your project, ask the supplier for evidence on the exact material and compare other laser types before committing.
Budget for the complete workspace
Compare complete setups, not just the frame’s advertised price. Make a list of the protective enclosure, extraction, work support, and any project-specific accessories you need. Ask what comes in the chosen bundle and price missing items separately. A rotary attachment or extension kit is only useful if the project actually requires it.
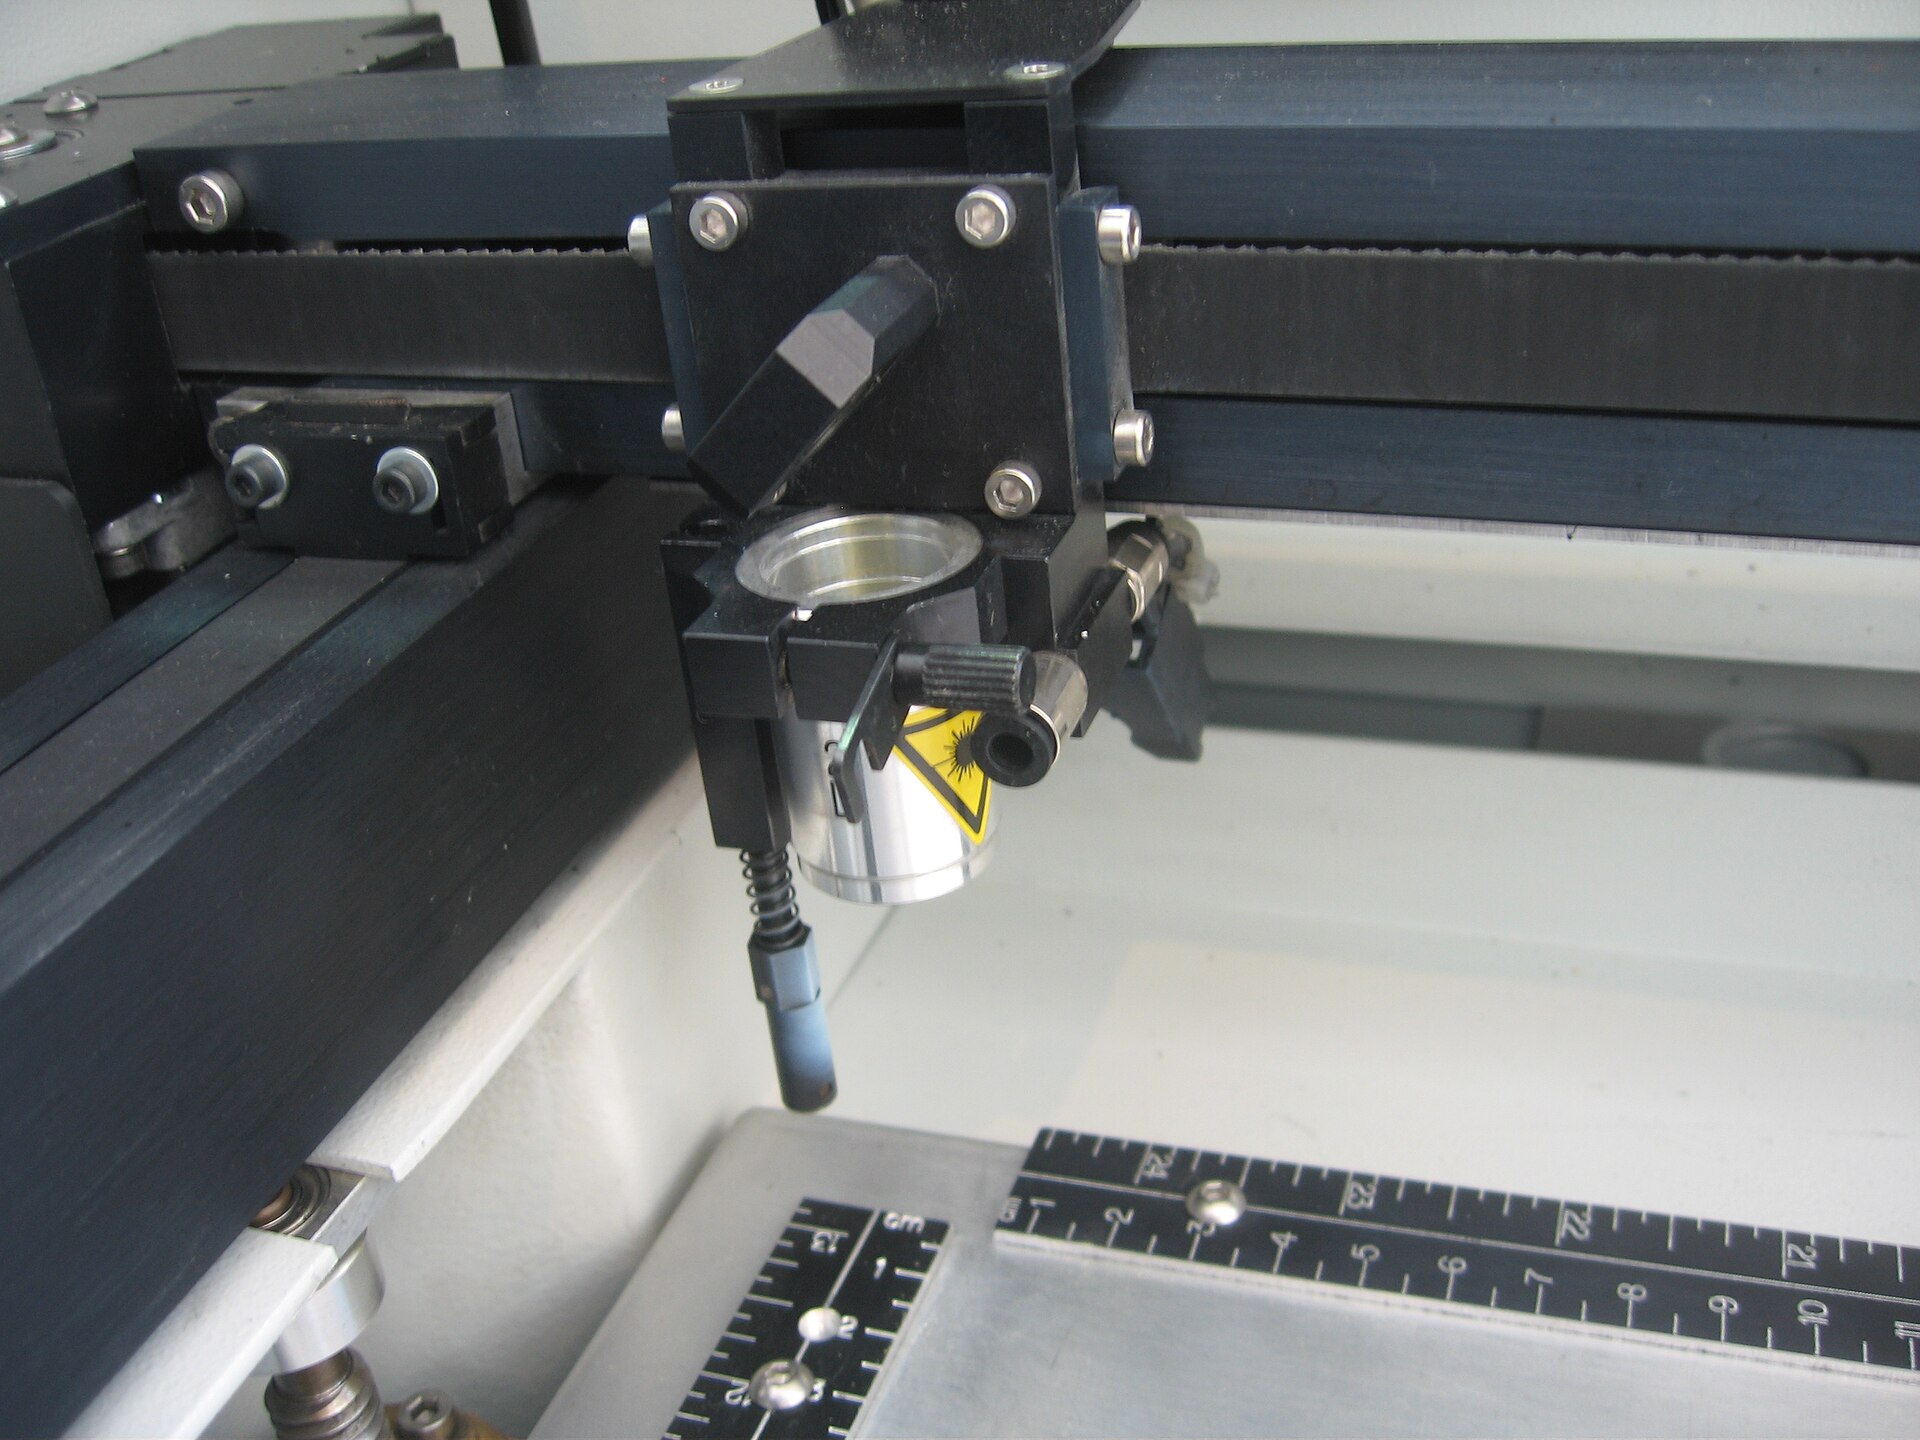
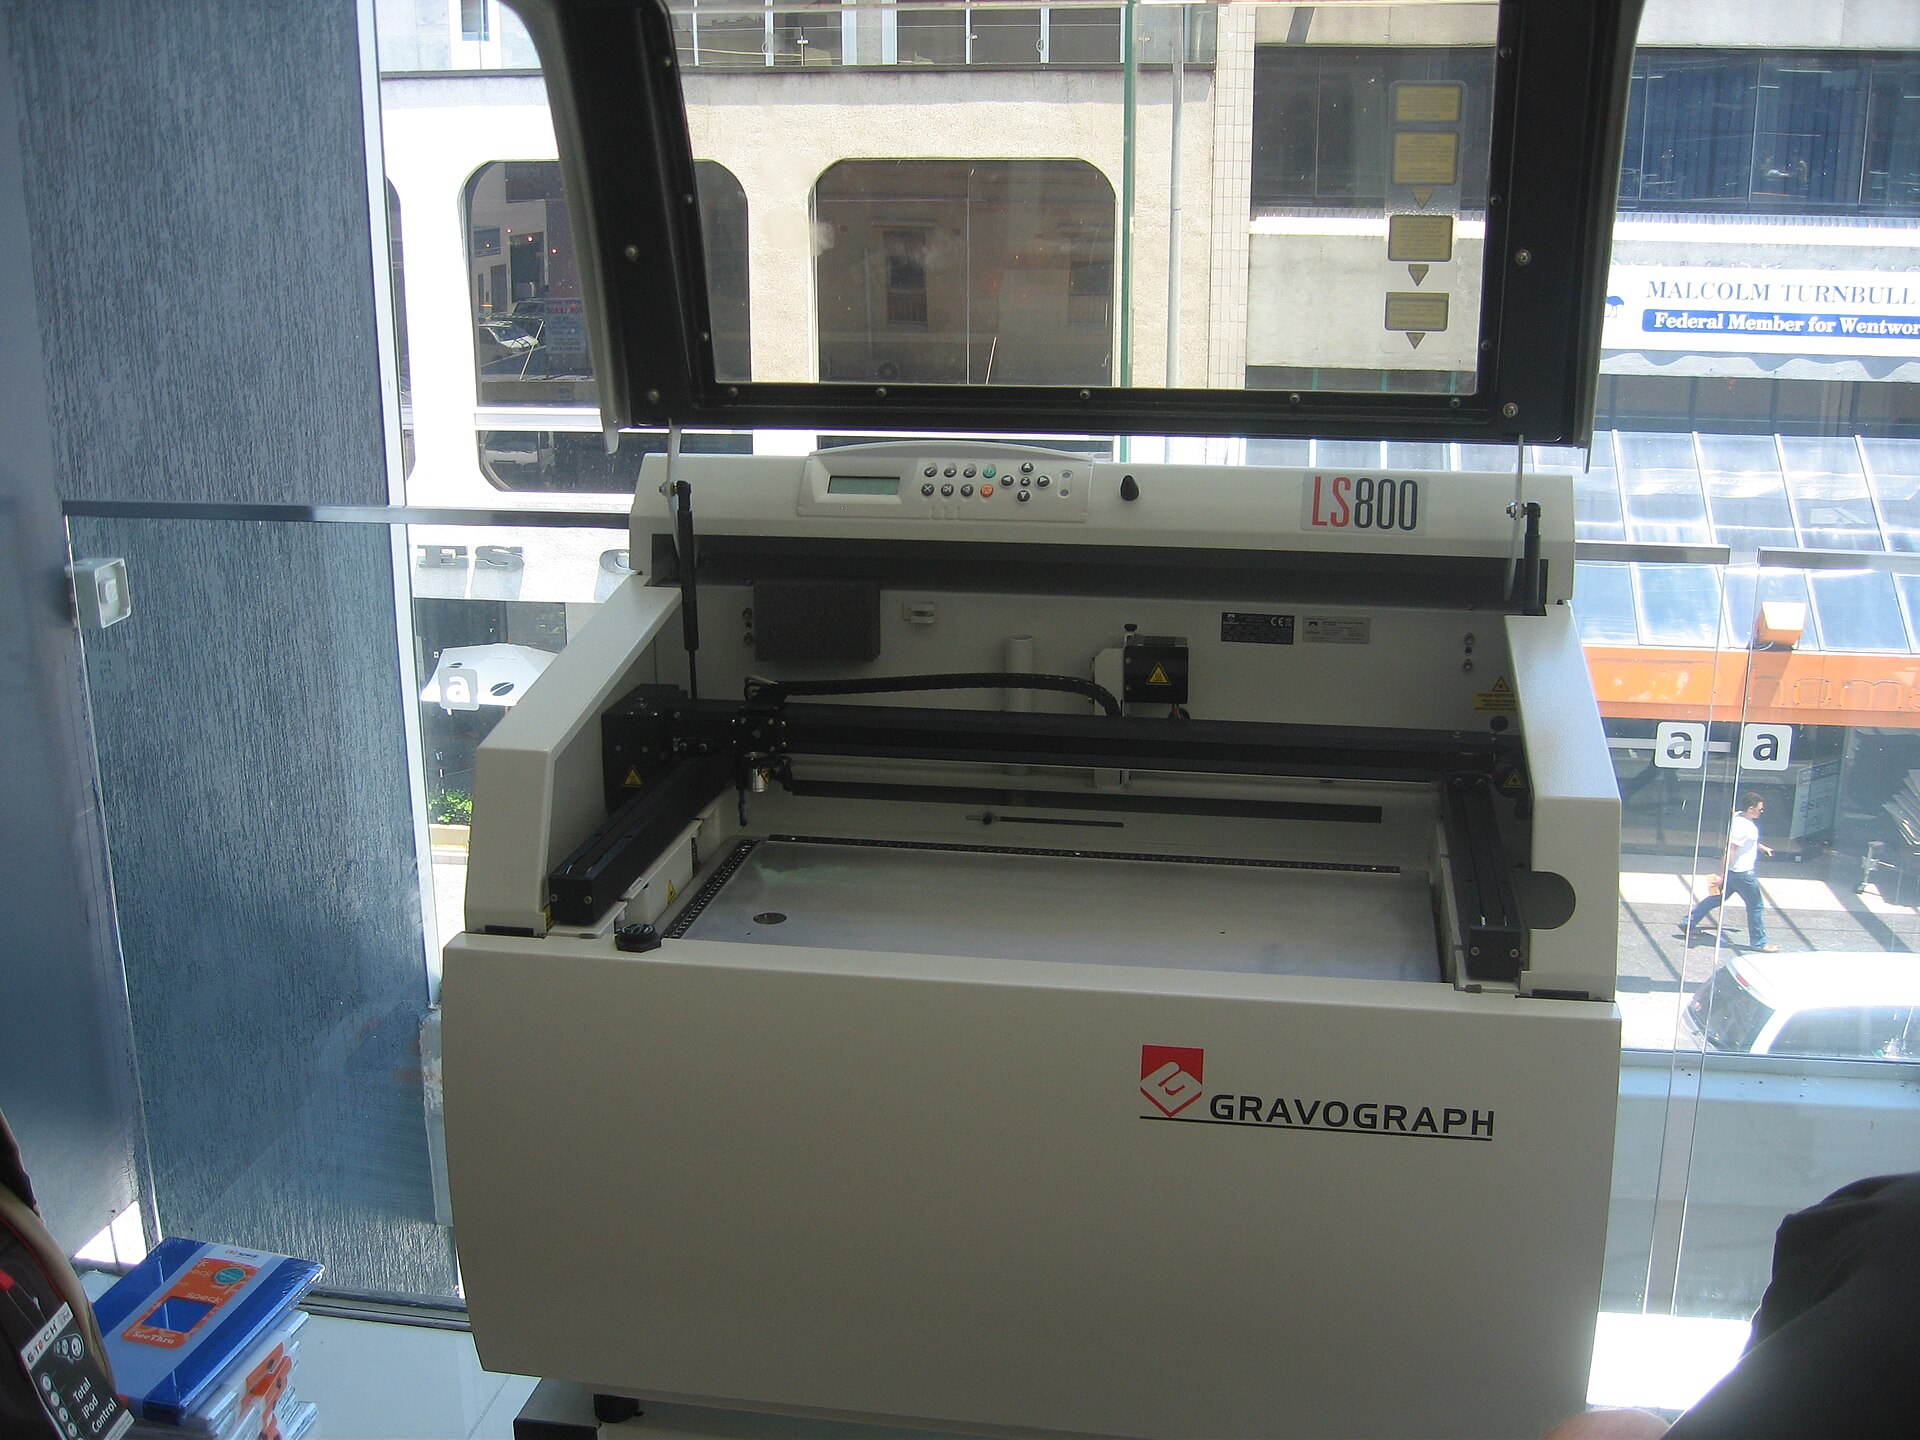
An open frame needs an appropriate laser-safe protective setup. Do not treat the small shield near the module as a complete enclosure. Follow the manufacturer’s laser-safety instructions, contain the beam, and use protection appropriate to the laser and operating conditions.
MIT’s laser-cutter safety guidance emphasizes ventilation, fire precautions, clean cutting areas, and continuous supervision. Never leave a running job unattended. Do not process PVC, vinyl containing PVC, or unidentified plastics; PVC can release hazardous hydrogen chloride gas. Air assist does not replace fume extraction or supervision.
Who should consider it?
The TTS-10 PRO is worth evaluating for small engraving projects if its work area fits your designs and you can provide a suitable workspace. My early experience was encouraging for learning the software. I would make a purchase decision around the complete setup cost and the actual materials involved, rather than call it a perfect choice for every beginner.
For clear-acrylic cutting, verified thick-material production, or a ready-enclosed workflow, compare alternatives that directly address those requirements. Before buying, ask for a sample made from your intended material and a record of the settings used.
References
- TwoTrees: TTS-10 PRO specifications and bundles
- TwoTrees: setup and maintenance documentation
- LaserGRBL: official software information
- xTool: acrylic processing limitations
- MIT EHS: laser-cutter safety
Material test results: what a 10W diode actually does
This review didn’t run measured benchmarks, so treat the following as typical results reported by TTS-10 PRO owners and general 10W diode behavior — always run your own material test grid before committing to a real piece:
- 3mm basswood plywood: the sweet spot. Cuts through in 2–4 passes at moderate speed; engraves beautifully in a single pass. This is what the machine was born to do.
- 5mm pine/birch: cuttable, but expect 5+ passes with noticeable charring on the edges. Fine for rustic projects; not for clean furniture parts.
- MDF (3mm): engraves well, cuts slowly with heavy smoke — ventilation matters double here, and the glue in MDF is unpleasant to breathe.
- Leather (genuine, 2–3mm): engraves excellently, cuts thin leather in a few passes. One of the best material matches for a 10W diode.
- Anodized aluminum: marks cleanly (the laser bleaches the anodized layer). Business cards, tags, and panels look great.
- Bare stainless steel: won’t engrave directly — needs a marking spray (like CerMark or dry moly lube) to leave a permanent dark mark. Budget for the spray if metal marking is your goal.
- Slate coasters and ceramic tile: engraves with striking contrast, especially slate. One of the most popular first projects for a reason.
- Clear acrylic: won’t cut reliably — blue diode light passes straight through instead of being absorbed. Dark/opaque acrylic engraves; don’t buy this machine for clear acrylic work.
- Glass: engraves with a coating (tempera paint or wet paper towel method), but results vary wildly. Test first.
The pattern: if it’s organic, dark, or coated, a 10W diode handles it. If it’s clear, reflective, or thick, look elsewhere.
Safety setup: non-negotiable for diode lasers
A 10W blue diode laser will blind you faster than you can blink — and the blink reflex doesn’t protect against invisible reflections. Set this up before the first test fire:
- Ventilation: cutting wood and leather produces real smoke with formaldehyde, acrolein, and fine particulates. Vent outside with a proper inline fan and ducting — not into the room, not out a cracked window with a desk fan. If you can smell it, your extraction is inadequate.
- Laser safety glasses: wear OD6+ rated glasses specifically for 445nm blue lasers, every time the machine is powered. Check that the included glasses actually carry a real OD rating marking — if they don’t, buy certified ones before proceeding. Regular sunglasses do nothing.
- Fire: keep a fire extinguisher within arm’s reach and never leave a running job unattended — not for “just a minute.” Diode lasers start fires the boring way: a cut piece shifts, the beam dwells on one spot, smoldering begins under the material where you can’t see it. An air-assist pump reduces flare-ups but doesn’t replace supervision.
- Enclosure: the open frame plus the small shield near the module is not a complete safety setup. At minimum, operate in a room others (and pets) don’t enter during jobs, with the beam path blocked from any line of sight. A proper enclosure is the real answer and worth budgeting for.
- Materials ban: never cut PVC, vinyl, or unidentified plastics — burning PVC releases hydrogen chloride gas, which is corrosive to your lungs and your machine. When in doubt about a material, don’t cut it.
Three first projects with starting settings
Start here — each teaches a core skill, and none waste expensive material:
1. Slate coaster engrave (learn: image prep and focus). Grab a 4-inch slate coaster. In LaserGRBL, import a simple high-contrast design, set your focus carefully (ramp test on scrap wood first to find the true focal point), and start around 3,000 mm/min at 60–70% power, one pass. Slate is forgiving — too little power just looks faint, so start conservative and increase. Teaches you: focus matters more than power.
2. Basswood plywood ornament (learn: cutting and tabs). 3mm basswood, a simple holiday ornament or keychain shape. Start around 300 mm/min at 90–100% power, 3 passes, with air assist on. Add small holding tabs in your design so the piece doesn’t shift mid-cut. If it doesn’t cut through, add a pass — don’t slow down further, which just chars the edge. Teaches you: multiple fast passes beat one slow scorched pass.
3. Leather patch engrave (learn: power control on delicate material). A 2×3″ genuine leather patch (not bonded leather — it melts). Start around 4,000 mm/min at 40–50% power, one pass. Leather scorches fast, so err on the light side; you can always run a second pass, but you can’t un-burn it. Masking tape over the leather before engraving keeps smoke stains off the surface — peel after. Teaches you: restraint.
For all three: run a small test on scrap first, keep a notebook of what worked (material, speed, power, passes), and photograph your settings. In six months that notebook is worth more than any preset library.

The DIY Geek — hands-on guides for electronics, 3D printing, woodworking, and smart home.