A table saw is the tool that turns rough lumber and full sheets of plywood into parts that fit. It rips a wide board down to the exact width you need, cuts a sheet of plywood into straight, square panels, and repeats the same cut twenty times without drifting. If you build furniture, cabinets, shelves, or anything with more than a few parts, a table saw will do more of the work than any other saw in your shop.
It is also the tool that demands the most respect. The blade is fixed, exposed, and spinning fast while your hands push wood past it, so the safety habits in this guide are not optional extras — they are part of how the tool is used. Learn them first, then make the cuts.
This guide covers how a table saw works, which type to buy, how to set it up square, and the cuts a beginner actually needs: rip cuts, crosscuts, and repeat cuts. No experience needed.
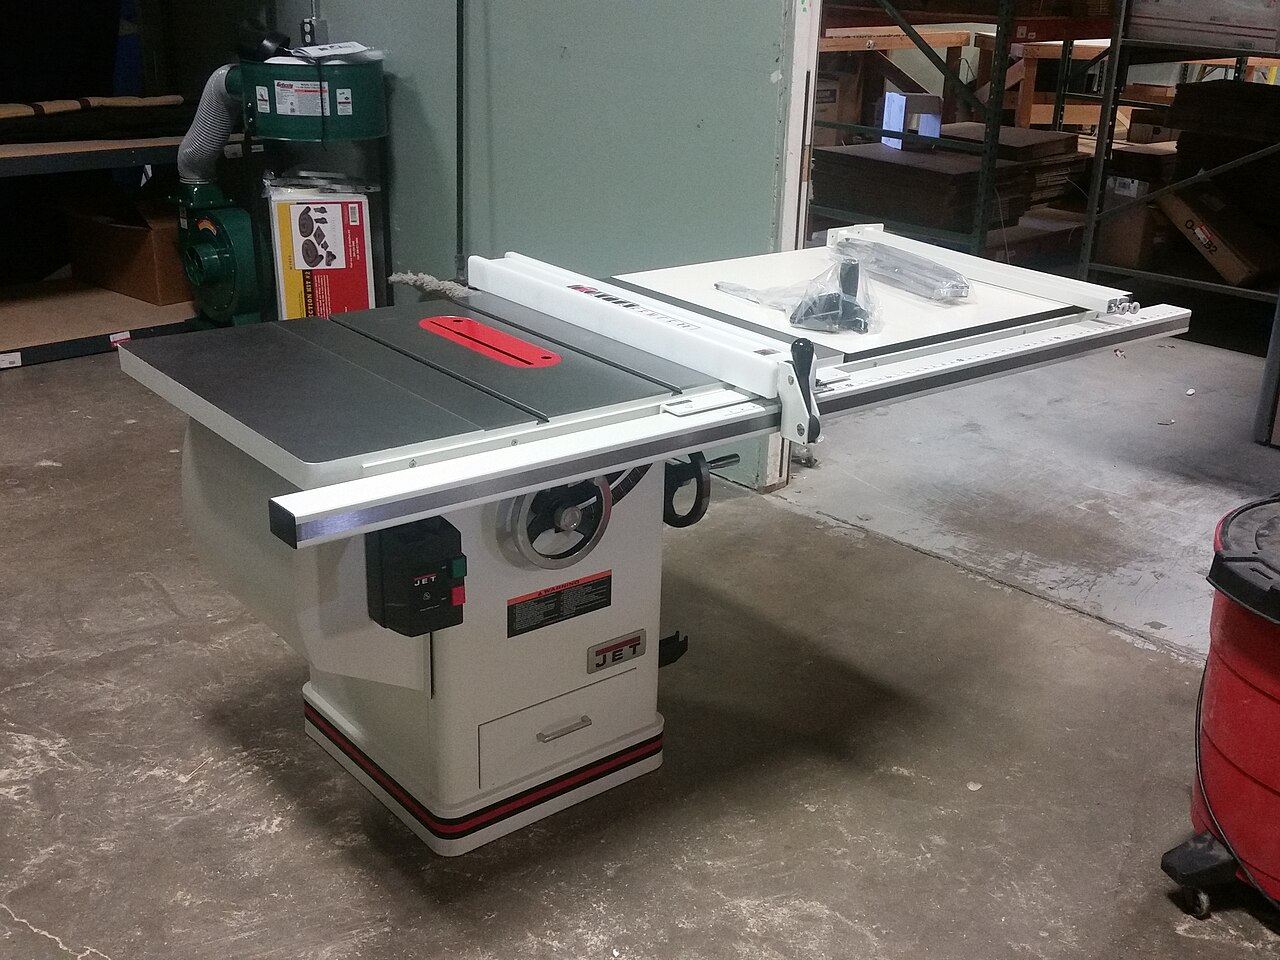
What Is a Table Saw and What Can It Do?
A table saw is a circular saw blade mounted under a flat table, sticking up through a slot. You slide the workpiece across the table and past the blade, guided by a fence for rip cuts or a miter gauge for crosscuts. The blade height and tilt adjust from the front of the saw, and the fence locks parallel to the blade at whatever distance you set.
A table saw is the right tool for:
- Ripping boards to width — turning a 2×8 into two 2x4s, or trimming a shelf board to exactly 11 inches
- Cutting sheet goods straight — breaking down plywood and MDF into square panels for cabinets and shelves
- Repeating the same cut many times, for example cutting ten identical drawer sides or shelf boards
- Cutting grooves and dadoes with a dado blade set, for joints and shelving
- Squaring up rough lumber once one edge is already straight
A table saw is not the right tool for:
- Cutting curves or circles — a jigsaw handles those
- Cutting a board to length at an angle — a miter saw is faster and more accurate for that
- Cutting very long boards alone without outfeed support — the board will tip off the back of the table
- Ripping a board with a bowed or twisted edge against the fence — straighten one edge first, or the cut will follow the bow
If you are still deciding which saw to buy first, read our comparison of circular saws, miter saws, table saws, and jigsaws before spending money. The short version: a circular saw is the most versatile first saw, a miter saw is the best for cutting to length, and a table saw is the one to buy when you start ripping lumber and cutting sheet goods regularly.
Types of Table Saws: Jobsite, Contractor, and Cabinet
All table saws do the same basic job, but they differ in size, power, and how accurately the fence holds its setting.
Jobsite table saw. Small, light, and built to fold up and carry to a job site. It runs on a standard household circuit and usually has a 10-inch blade. The fence needs checking every time you move it, and the table is small, so long boards need extra support. This is the right first table saw for most beginners — it fits a small shop, costs the least, and handles everything in this guide.
Contractor table saw. Bigger and heavier, with a larger cast-iron table and a more powerful motor on a stand with legs. The fence is more accurate and stays put once locked. It needs more floor space and costs more, but it is a good step up once you are cutting sheet goods every week.
Cabinet table saw. The big shop machine: a heavy enclosed cabinet, a 3-horsepower motor or more, and a long fence rail. It is the most accurate and the most expensive, and it usually needs a 220-volt circuit. Buy this one when the woodworking is paying for itself, not as a first saw.
Safety First: The Habits That Keep Your Hands
Read this section twice before you turn the saw on. Every rule here exists because someone learned it the hard way.
Use the blade guard, riving knife, and anti-kickback pawls. The guard covers the blade above the table. The riving knife sits right behind the blade and keeps the cut from closing up and pinching the blade — that pinch is what causes kickback. The pawls dig in if the board starts flying back toward you. Keep all three on for through cuts. Remove the guard only for non-through cuts like grooves, and put it straight back on when you are done.
Stand to the side, not behind the blade. Kickback throws the workpiece straight back along the line of the blade, fast enough to break bones. Stand slightly to the left of the blade so a kicked board misses you, and never let anyone else stand behind the saw while you cut.
Use a push stick for narrow cuts. When the fence is less than about 6 inches from the blade, your hand would have to pass too close to the blade to push the board through. Use a push stick or push block instead — never your fingers. Keep a push stick hanging on the saw so it is always within reach.
Never reach over a spinning blade. Wait for the blade to stop completely before you reach for a cut-off piece, clear dust, or adjust anything. The blade keeps spinning for several seconds after you switch it off.
Wear safety glasses and hearing protection, and no loose clothing. Chips fly off a table saw at high speed, and the saw is loud enough to damage hearing over time. Tie back long hair, roll up loose sleeves, and take off rings, watches, and gloves — gloves catch on spinning blades and pull your hand in.
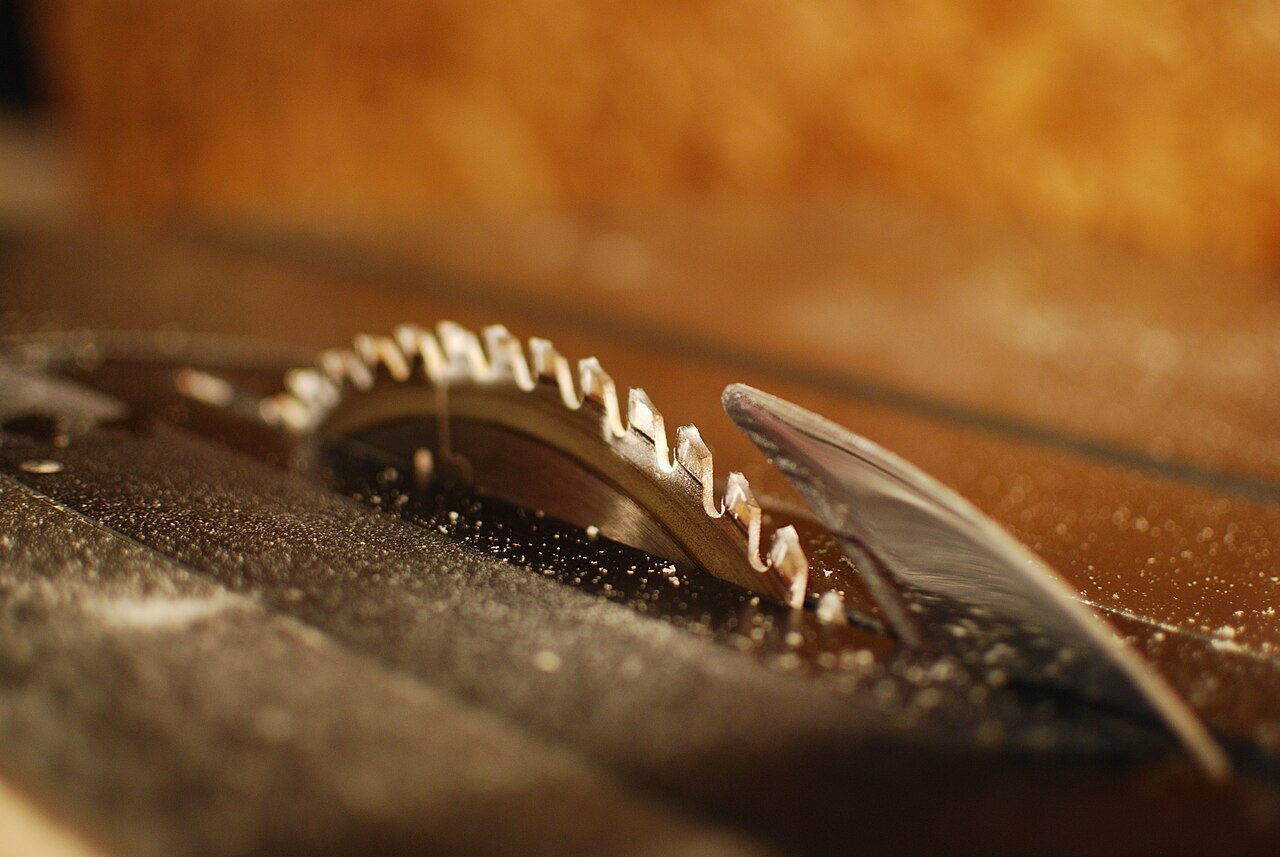
Setting Up Your Table Saw
A table saw is only as accurate as its setup. Spend fifteen minutes on this before your first cut, and re-check it any time the saw has been moved.
Set up outfeed support. A board that hangs off the back of the table will tip down as it leaves the blade, binding the cut and pulling your hands toward the blade. For any board longer than about 3 feet, put a roller stand or a sawhorse at table height behind the saw. If you are cutting a full sheet of plywood, you need support on both sides as well.
Align the fence parallel to the blade. This is the most important setup check. With the saw unplugged, measure from the front of the blade to the fence, then from the back of the blade to the fence — the two measurements must match. If the fence toes in toward the blade at the back, the board will pinch and kick back. Adjust it using the saw’s manual, and check it every time you move the fence to a new setting.
Square the blade to the table. Raise the blade to full height, hold a speed square against the table and the blade (with the saw unplugged), and look for a gap. Adjust the tilt stop using the saw’s manual until the blade is square, and check the 45-degree stop the same way before you cut a bevel.
Fit the right blade. The general-purpose blade that comes with the saw is usually a 40-tooth combination blade, fine for most ripping and crosscutting. For clean cuts in plywood and visible furniture parts, fit a 60-tooth or 80-tooth fine-finish blade — slower, but far less tear-out. For ripping thick hardwood, a 24-tooth rip blade cuts faster with less burning. Always unplug the saw before changing a blade.
The Rip Cut: Your Most-Used Cut
The rip cut is the cut you will make most often: cutting along the grain to bring a board to width.
Set the fence to the width you need — measure from the blade to the fence, and lock it. Place the board flat on the table with its straight edge against the fence, and stand to the left of the blade. Turn the saw on, let the blade reach full speed, and feed the board steadily into the blade with both hands on the board, well away from the blade line. Keep the board pressed flat on the table and tight against the fence the whole way through — if it drifts away from the fence, the cut will wander and the board can bind.
Keep feeding at a steady pace. Pushing too fast strains the motor and leaves a rough edge; pushing too slowly lets the blade rub and burn the wood. Listen to the saw — a steady hum means the feed rate is right, a dropping pitch means you are pushing too hard. When the end of the board passes the blade, use a push stick for the last few inches, and do not reach over the blade to grab the offcut.
The same rip-cut principles apply to a circular saw — there the saw moves instead of the board.
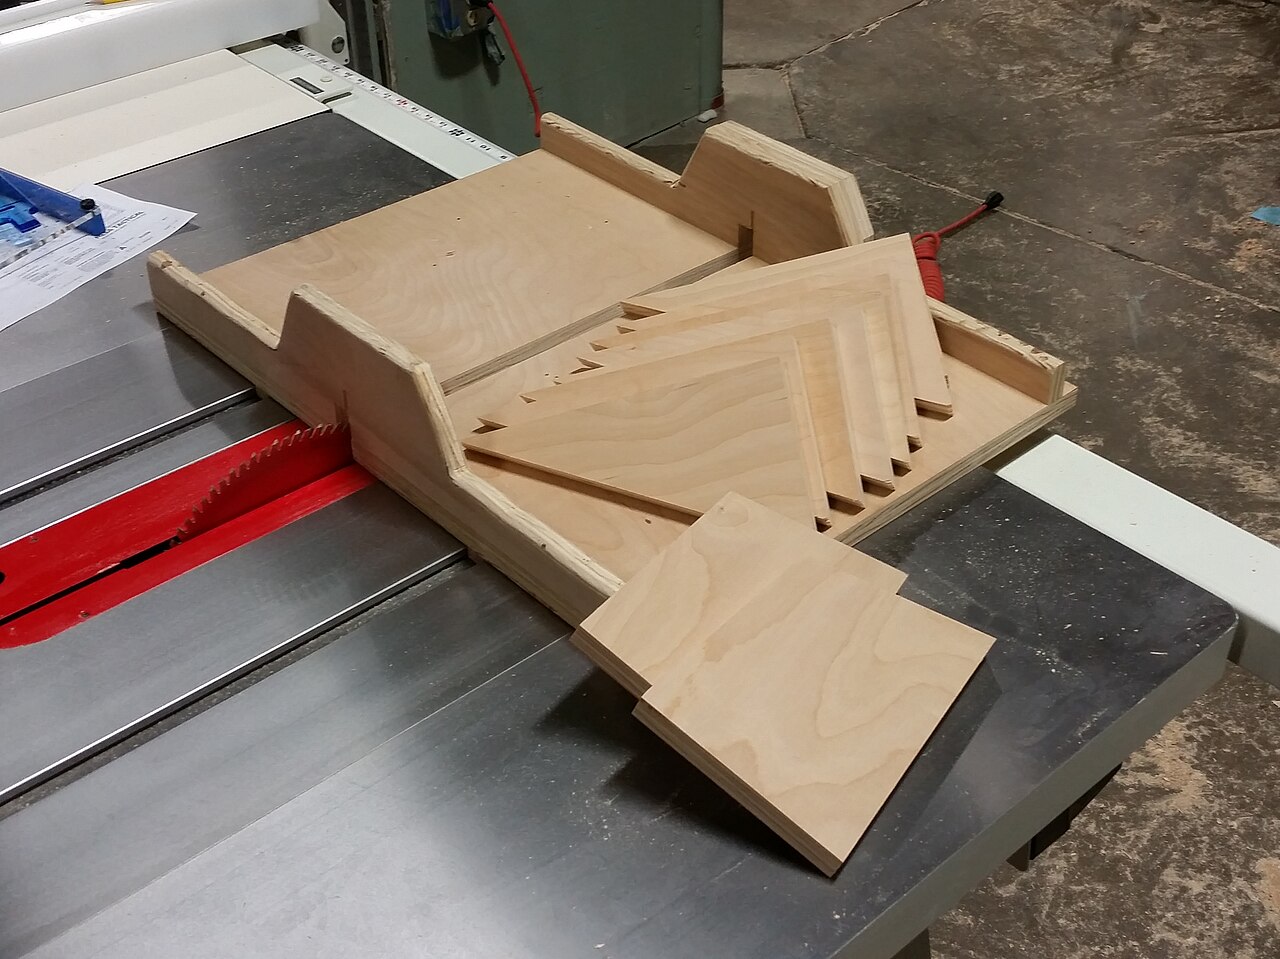
The Crosscut: Cutting to Length on the Table Saw
A crosscut cuts across the grain to bring a board to length. On a table saw, crosscuts use the miter gauge, not the fence — never use the fence and the miter gauge together for a crosscut, because the cut-off piece gets trapped between the blade and the fence and kicks back.
Set the miter gauge to 90 degrees and slide it into the slot. Hold the board flat against the miter gauge, with the cut line lined up with the blade, and keep your hands well clear of the blade. Feed the gauge and the board together past the blade at a steady pace, then pull the gauge back and let the blade stop before you move the cut-off piece.
For cutting boards to length at an angle, or for trim work, a miter saw is faster — use the table saw for crosscuts when the board is too wide for the miter saw.
Repeat Cuts and the Stop Block
The table saw earns its place in the shop when you need ten identical parts. The fence is your measuring tool: set it once, and every board you rip comes out the same width.
For repeat rip cuts, set the fence to the width you need and cut every board without moving it. Stack the finished pieces and check that they match — if one is off, the fence moved, and you will catch it before you have cut the whole batch wrong.
For repeat crosscuts, clamp a stop block to the fence, but only in front of the blade — the block must end before the blade, so the cut-off piece is free to move once it clears the blade and cannot get trapped. Slide the board against the stop block, make the cut with the miter gauge, and every piece comes out the same length.
Measure the first piece of every batch before you cut the rest. A fence that is off by 1/16 of an inch does not matter on one board, but it matters a lot when ten boards are supposed to fit together in a cabinet.
Common Mistakes and How to Avoid Them
Burn marks on the cut edge. The blade is dull, the feed is too slow, or the fence is not parallel to the blade. Sharpen or replace the blade and re-check the fence.
The board binds or kicks back. The fence is toed in at the back, the riving knife is missing, or the board is bowed and pinching the blade. Stop, unplug the saw, and check the fence and riving knife before you cut again.
Tear-out on plywood. The blade is too coarse, or the good face is on the wrong side. Fit a fine-finish blade and put the good face up.
Cuts that are not square. The blade is not square to the table, or the miter gauge is not square to the blade. Re-check both with a square.
The saw trips the breaker. A jobsite saw on a shared circuit will trip the breaker under load. Run the saw on its own circuit and keep the blade sharp.
If you are building your first shop setup around the table saw, see our guide to building a workbench — a sturdy bench at the right height doubles as your outfeed table and your assembly space.
A First Project: Shelf Boards That Actually Fit
The best first project for a new table saw is a set of shelf boards, because it uses every skill in this guide and the result is useful the same day.
Measure the space, then rip a sheet of 3/4-inch plywood into shelf boards at the depth you need, using the fence and a push stick. Crosscut the boards to length with the miter gauge and a stop block so every shelf matches, and sand the edges lightly to remove the saw marks.
You will have learned the fence, the miter gauge, the push stick, and the outfeed setup in one afternoon — and you will have shelves that fit, because every board came off the same fence setting. For ideas on what to build next, see our guide to simple woodworking projects for beginners.

The DIY Geek — hands-on guides for electronics, 3D printing, woodworking, and smart home.