5 Raspberry Pi Projects for Beginners to Try This Weekend
The Raspberry Pi is the Swiss Army knife of DIY tech: a complete Linux computer for around $35–75 that can become almost anything. But its versatility is also its curse — with infinite possibilities, where do you start?
These five projects are ordered from easiest to most ambitious. Each teaches real skills, and every one leaves you with something genuinely useful.
What you’ll need: a Raspberry Pi (any Pi 4 or Pi 5 works; a Pi 400 works too), a microSD card (32GB+, Class 10), a USB-C power supply, and optionally a case. A keyboard, mouse, and monitor help for the first setup.
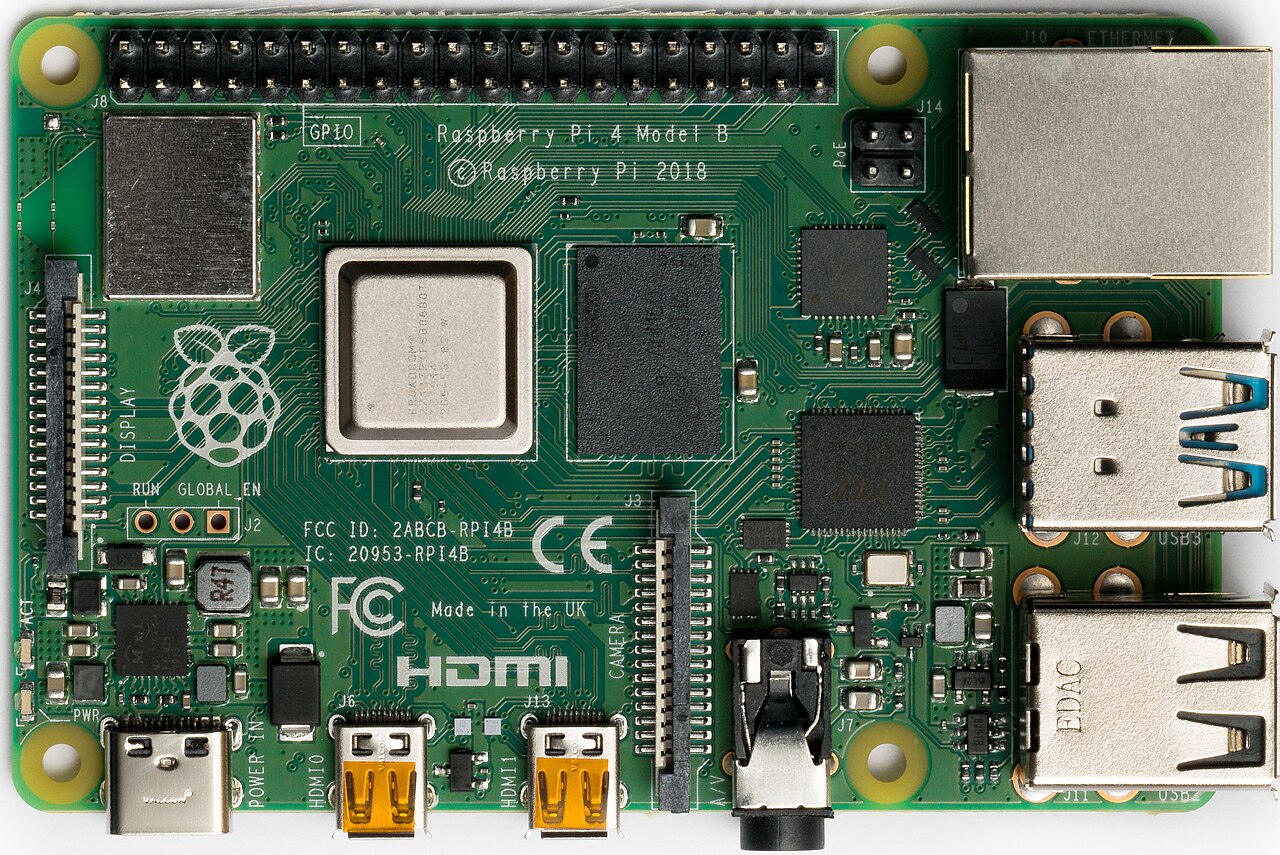
Project 1: Set up Raspberry Pi OS (the foundation)
Before anything fun, get the basics right. This takes 20 minutes and everything else builds on it.
- Download Raspberry Pi Imager on your regular computer.
- Insert your microSD card, open Imager, and choose Raspberry Pi OS (64-bit).
- Click the gear icon before writing: set your WiFi network, enable SSH, and set a username/password. This saves huge hassle later.
- Write the image, put the card in the Pi, and power it on.
You’ll boot to a familiar desktop. Update everything (open a terminal, run sudo apt update && sudo apt upgrade), and you’re ready. If you enabled SSH, you can now control the Pi “headless” — no monitor needed — from another computer.
What you learned: imaging an OS, SSH basics, and the Linux terminal. These three skills underpin every Pi project.
Project 2: Pi-hole network ad blocker (your whole network, ad-free)
Pi-hole blocks ads and trackers for every device on your home network — phones, tablets, smart TVs — with no software to install on any of them.
Setup:
- With your Pi on the network, open a terminal (SSH is fine) and run:
curl -sSL https://install.pi-hole.net | bash
- Follow the installer prompts (defaults are fine for most people).
- Log into your router’s admin page and set the Pi’s IP address as your network’s primary DNS server.
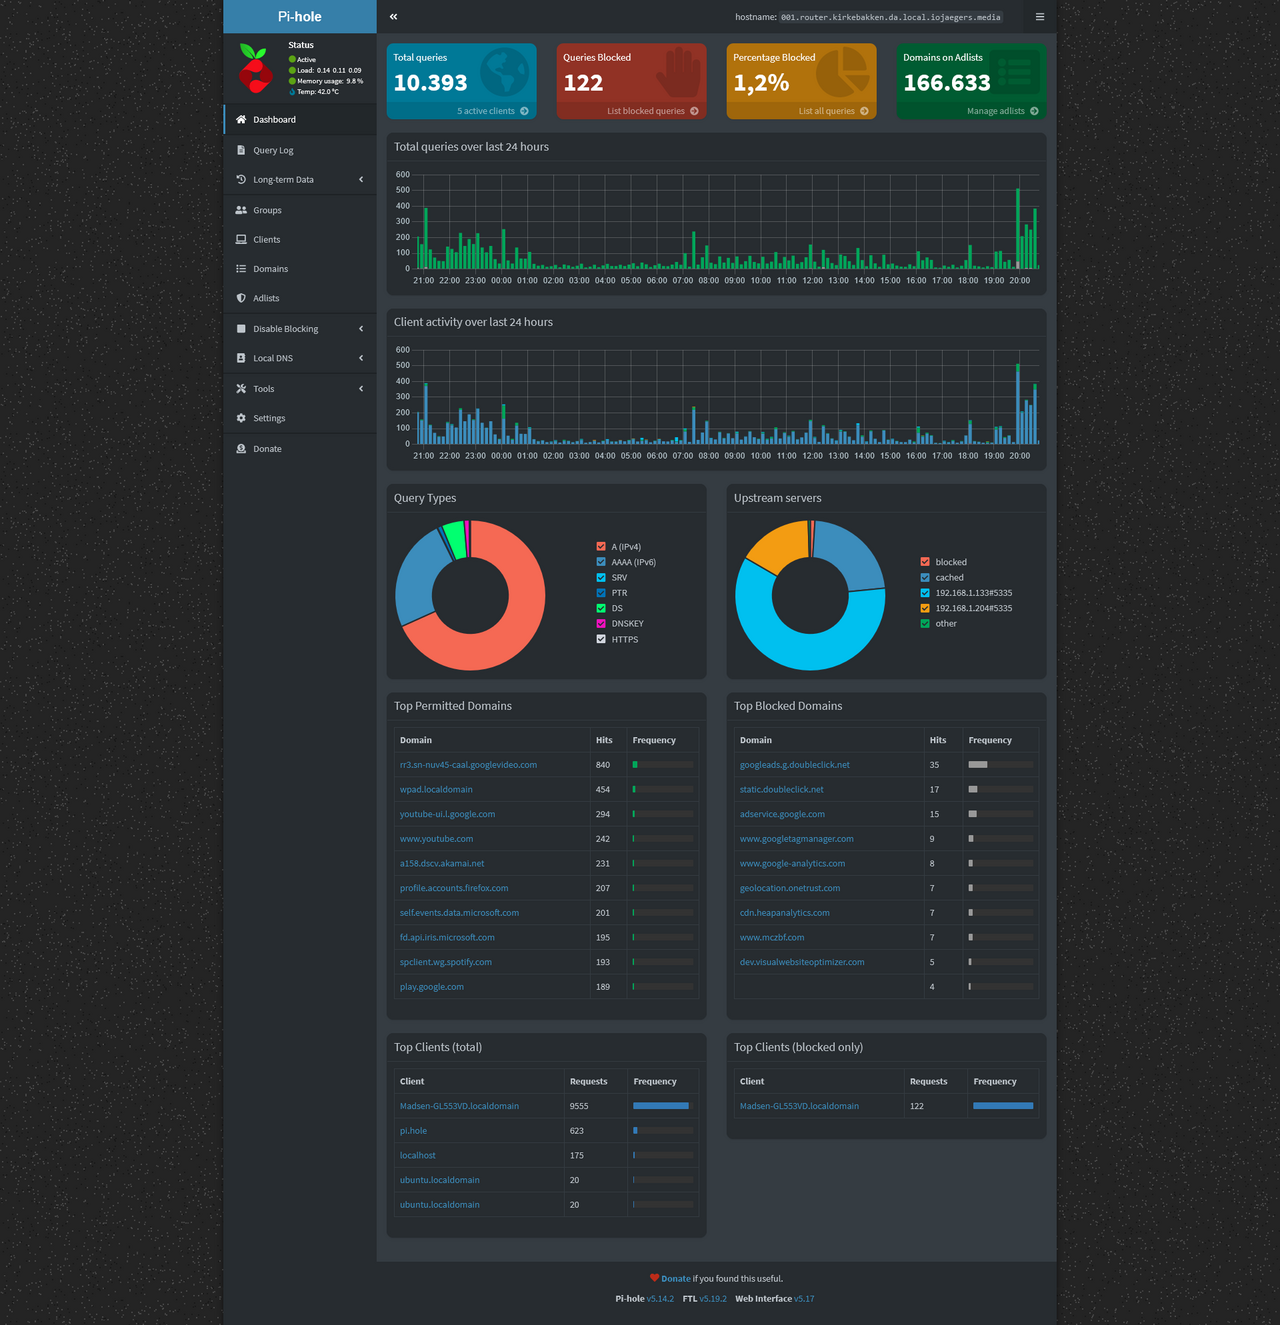
That’s it. Ads vanish across your entire network. The Pi-hole web dashboard (at the Pi’s IP address) shows you exactly what’s being blocked in real time — usually thousands of requests per day, which is eye-opening.
What you learned: DNS fundamentals, running a network service, and basic router configuration.
Project 3: Retro game console with RetroPie
Turn your Pi into a retro gaming machine that plays classics from the NES, SNES, Genesis, and PlayStation 1 eras.
- Use Raspberry Pi Imager to write RetroPie to your microSD card instead of Raspberry Pi OS.
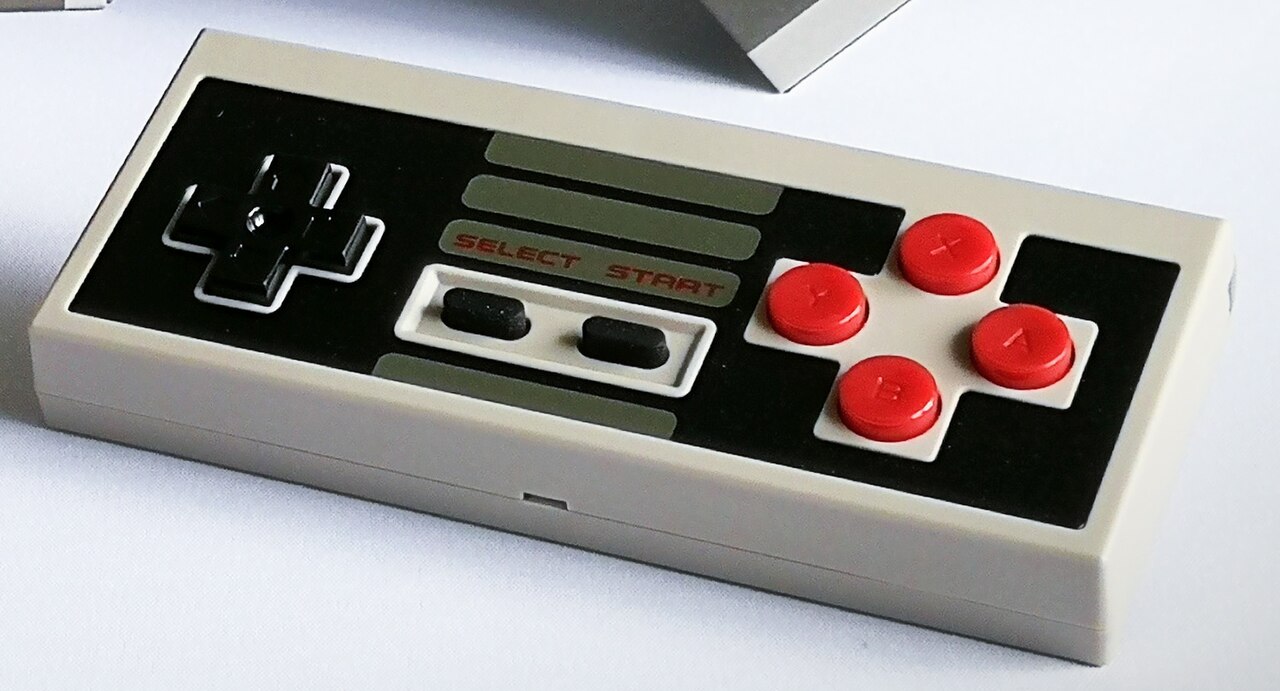
- Boot the Pi, connect a USB game controller when prompted, and configure the buttons.
- Transfer game ROMs over your network (from legally owned copies) into the
romsfolder.
The interface is polished, controller-friendly, and honestly impressive for a $50 computer. A Pi 4 handles everything through the 16-bit era flawlessly; a Pi 5 comfortably emulates PlayStation 1 and even some N64.
Legal note: only use ROMs of games you own. Plenty of free homebrew and public-domain games exist to get you started legitimately.
What you learned: alternative OS images, file transfer over a network, and controller configuration.
Project 4: Personal cloud storage with Nextcloud
Tired of subscription fees for cloud storage? Run your own with Nextcloud — file sync, photo backup, and calendar, all on hardware you own.
The simplest path is NextcloudPi, a pre-configured image:
- Write the NextcloudPi image to your microSD card with Raspberry Pi Imager.
- Boot, then visit the Pi’s IP address in a browser to finish setup.
- Attach a USB hard drive for real storage capacity.
You get a private Dropbox alternative with no monthly fee and no one scanning your files. Access it from anywhere by setting up port forwarding or, more securely, a WireGuard VPN on the same Pi.
What you learned: self-hosting concepts, external storage, and thinking about network security.
Project 5: Home temperature monitor with a web dashboard
Combine a Pi with a cheap DHT22 sensor to log your home’s temperature and humidity, displayed on a web page you can check from your phone.
- Wire the DHT22: VCC to 3.3V (pin 1), data to GPIO4 (pin 7), ground to GND (pin 6).
- Install the Adafruit DHT library:
pip3 install adafruit-circuitpython-dht - Write a small Python script that reads the sensor every 5 minutes and appends to a CSV file.
- Serve a simple HTML page with a chart (a few lines of JavaScript with a charting library) from the Pi.
This project stitches together hardware, Python, and web basics — it’s the perfect capstone because it touches everything the earlier projects taught separately.
What you learned: GPIO programming, Python scripting, data logging, and basic web serving.
Tips that save beginners hours
- Buy the official power supply. Underpowered phone chargers cause random crashes that look like software bugs. This is the #1 beginner trap.
- Back up your SD card before big experiments (use Imager’s backup or just copy the image). A 10-minute backup saves a full rebuild.
- Heat matters on the Pi 5. Get a case with a fan or a decent heatsink if you’ll run it hard.
- The Raspberry Pi forums and Stack Exchange have answered nearly every error message you’ll ever see. Search the exact text.
Where this leads
These five projects cover the Pi’s three superpowers: it’s a Linux server (Pi-hole, Nextcloud), a media/gaming box (RetroPie), and a hardware platform (sensors, GPIO). Most advanced Pi projects are just combinations of these patterns.
Pick one for this weekend. By Sunday night, you’ll have built something real — and you’ll never look at that little green board the same way again.
Related Reading
- Raspberry Pi Pico for Beginners: Your First MicroPython Projects
- 3 Easy Arduino Projects for Absolute Beginners (With Real Code)
- ESP32 vs Arduino: Which Microcontroller Should You Choose?
- How to Control Motors with Arduino: DC Motors, Servos, and Stepper Motors
- Electronics Basics: Resistors, Capacitors, and LEDs Explained Simply

The DIY Geek — hands-on guides for electronics, 3D printing, woodworking, and smart home.