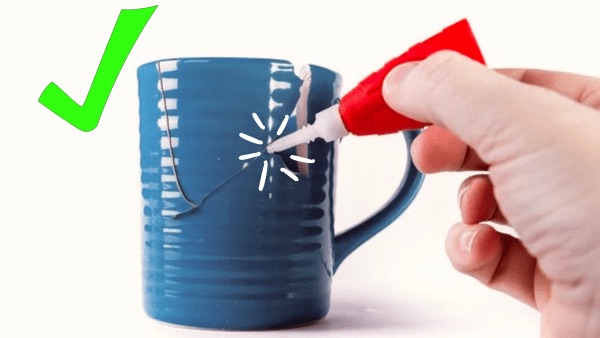
Superglue and baking soda can make a fast-setting filler for small gaps. It is useful to understand the trick before trying it: a hard patch does not automatically mean a stronger repair. The glue still needs to bond to the material beneath it.
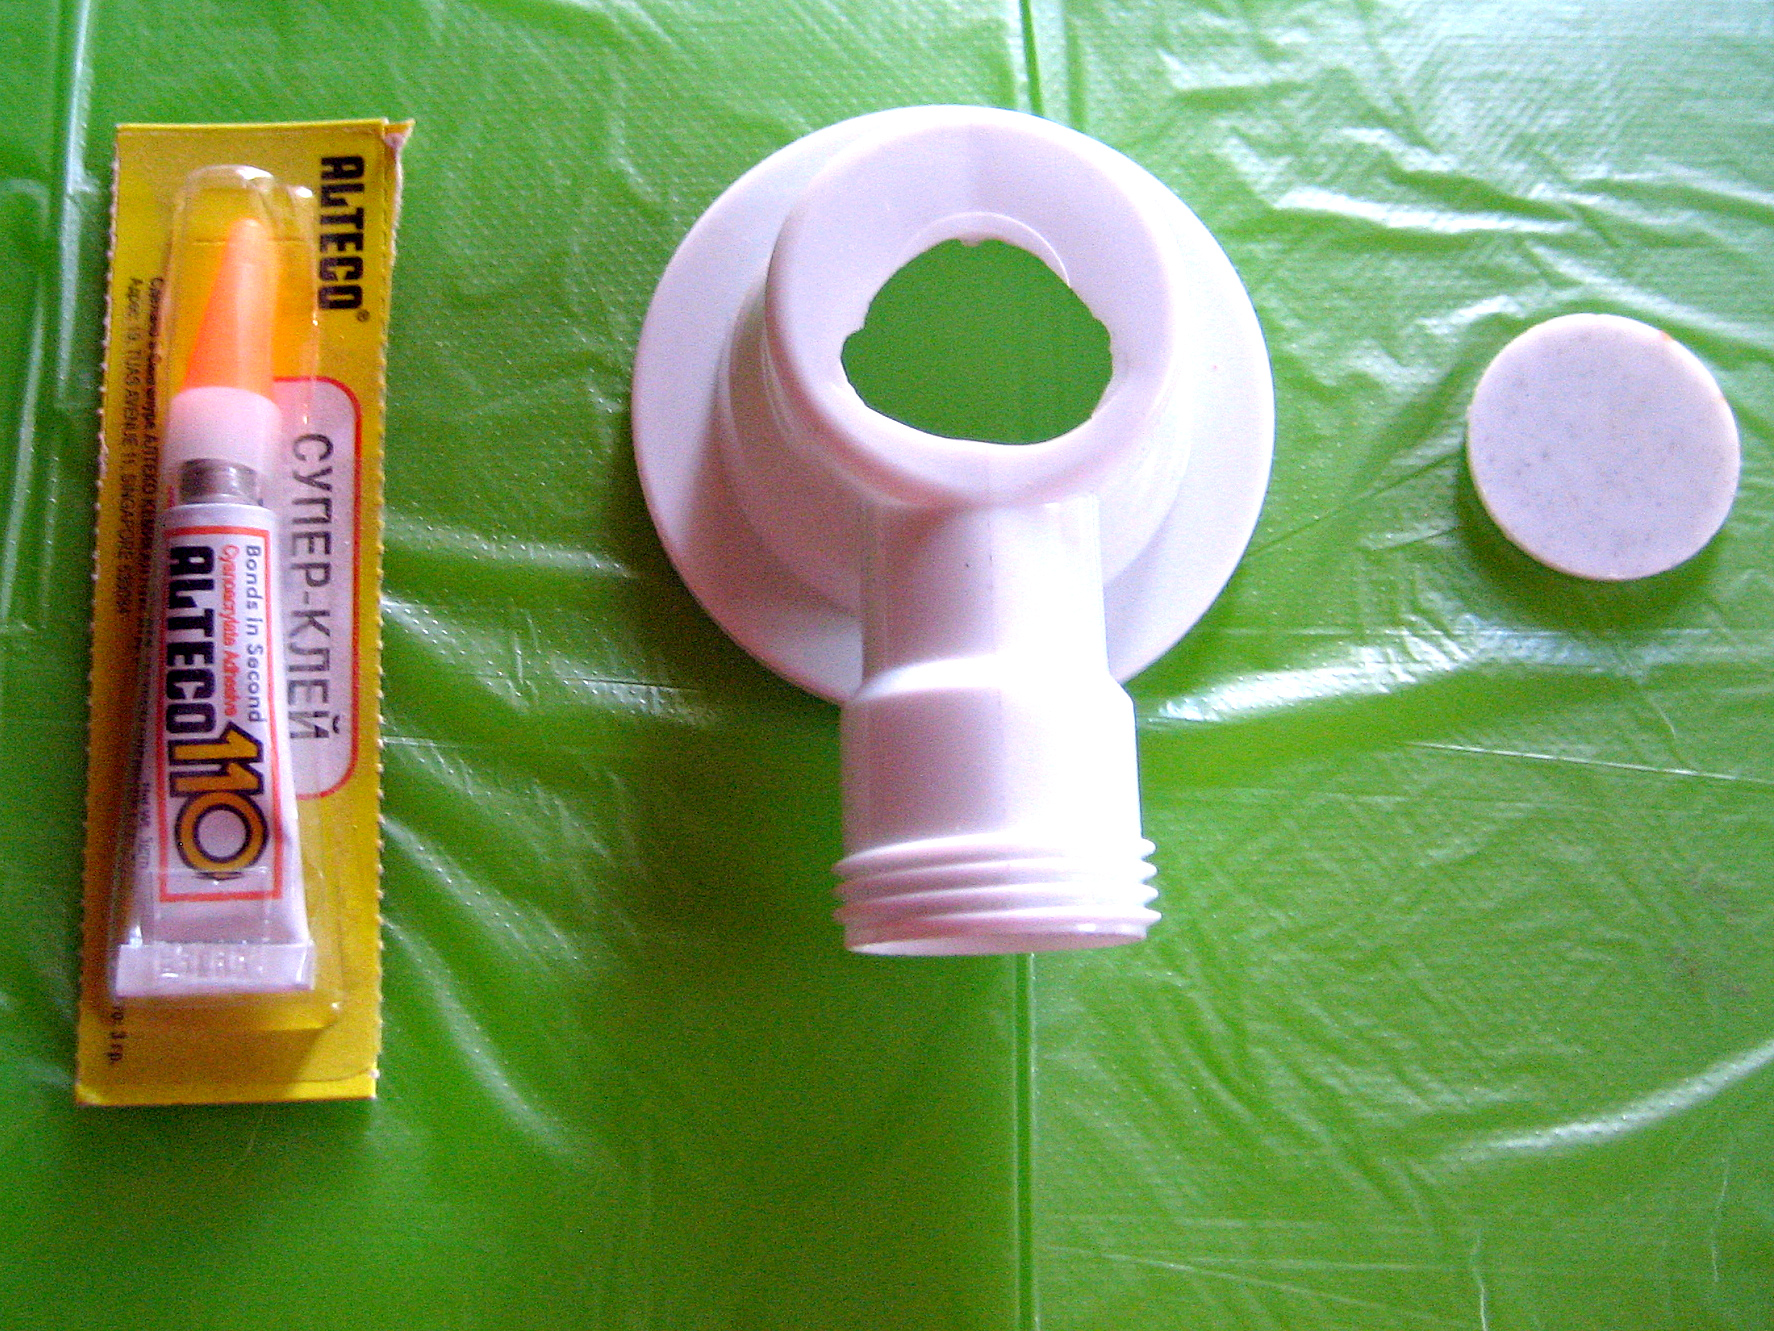
What baking soda changes
Cyanoacrylate (CA) is the adhesive sold as superglue. Baking soda speeds its curing and adds bulk, producing a hard filler. Starbond’s explanation distinguishes this gap-filling use from a close-fitting joint, where glue alone may be enough. Fast surface hardening is not proof of full strength.
Decide whether the repair is suitable
Start with a small, nonstructural project you can afford to replace: a cosmetic chip in a decorative object, for example. Check the adhesive label for the material and test a hidden area. Treat these as candidate projects, not guaranteed successes.
| Repair situation | Recommended approach |
|---|---|
| Two clean edges fit closely | Follow the adhesive’s normal bonding instructions first. Powder may interfere with the fit. |
| A small cosmetic gap remains | A thin filler patch may be worth testing on a compatible material. |
| Polyethylene (PE) or polypropylene (PP) | Choose a bonding system specifically rated for that plastic. Baking soda does not resolve adhesive incompatibility. |
| A shoe sole, flexible case, or moving joint | Choose an adhesive rated for the movement involved rather than relying on a rigid patch. |
| A tool handle, chair joint, or load-bearing screw fixing | Use a proper replacement or a repair method designed for the load. |
| A drinking mug, food container, or cooking item | Do not use this general-purpose repair for food contact. |
These are conservative repair recommendations. For specific product limits, Gorilla excludes PE and PP and food-contact uses. Compatibility varies by formula; a claim about one glue is not a specification for every CA adhesive.
Set up before opening the glue
Read the label and safety data sheet. Protect the bench, provide ventilation, wear eye protection, and select chemical-resistant gloves as directed by the product. Keep fingers away from the repair. CA can bond skin and eyes rapidly, and accelerated curing releases heat. Keep the amounts small and do not mix a cupful of glue and powder.
Avoid cotton or wool applicators and gloves; Loctite lists these as unsuitable materials for superglue. Have the product’s spill and first-aid instructions available before starting.
How to fill a small cosmetic gap
- Prepare: Remove loose debris, clean and dry the surfaces, and check the fit. Follow the product’s surface-preparation instructions.
- Position: Support the part so it will not shift. Plan where the patch must stop, especially near clips and moving parts.
- Apply: Place a small dab of suitable CA glue in the gap, then sprinkle a little baking soda over it. Do not touch the wet mixture.
- Build gradually: If more fill is needed, add thin layers rather than one large blob. Let the patch cool between applications.
- Finish: After it has hardened and cooled, gently remove loose powder without blowing it toward your face. Sand or file carefully as needed; control dust and follow the product’s protective-equipment guidance.
- Wait and inspect: Follow the adhesive’s cure instructions before putting the part into service. Check that the patch stays attached; its surface hardness alone is not a useful strength test.
If the patch does not work
Stop adding layers if the filler lifts from the surface, leaves loose powder underneath, or blocks the part’s movement. Reconsider material compatibility and the repair design. A bigger patch cannot compensate for a poor bond. For an important part, replacement is often the more dependable choice.
Keep a simple project note: material, adhesive name, gap size, and what happened after curing. That makes your next repair decision more useful than judging a video by how quickly the glue turns solid.
Manufacturer references
- Starbond: superglue and baking soda — filler behavior and thin-layer application.
- Gorilla Super Glue — preparation, material restrictions, and food-contact limitations.
- Gorilla Super Glue safety data sheet — heat, exposure, and protective equipment.
- Loctite: superglue uses — choosing a formula and following its instructions.
Step-by-step technique with timing
Minute 0 — fit check. Dry-fit the parts first. If the edges meet cleanly with no gap, skip the baking soda entirely and bond it as a normal superglue joint.
Minute 1 — glue first, then powder. Put a small drop of CA in the gap. While it’s still wet, sprinkle baking soda over it from a folded piece of paper. The surface skins over in about 5–10 seconds — but only the top millimeter has cured.
Minutes 2–5 — build in thin layers. For a gap deeper than about 2mm, add a second thin layer of glue, sprinkle again, and wait. Two or three thin layers beat one thick blob every time.
Minute 10 — shape it. Once hard and cool to the touch, file or sand into shape. Wear a dust mask; the dust is an irritant.
Hour 24 — full strength. Cyanoacrylate reaches full cure in about 24 hours. If the part will take any load, give it the full day before testing.
Which plastics it bonds (and which it won’t)
Usually works: ABS, rigid PVC, polycarbonate, and acrylic — with proper cleaning first. Roughen smooth surfaces lightly with fine sandpaper.
Usually fails: polyethylene (PE) and polypropylene (PP) — milk jugs, bottle caps, most flexible food containers. Nylon and acetal (Delrin) are also difficult.
The quick test: check the recycling stamp. Numbers 2 (HDPE), 4 (LDPE), and 5 (PP) are the problem children. When in doubt, test on a hidden spot and try to pry it off after 24 hours.
Safety: fumes and skin
Fumes. Cyanoacrylate vapor irritates eyes, nose, and throat, and the baking-soda trick makes it worse. Work with ventilation — a cracked window and a small fan blowing across the bench.
Skin. CA bonds skin instantly. If you glue your fingers, don’t yank them apart; soak in warm soapy water and gently roll apart. Keep acetone or debonder nearby before you open the glue, not after you need it.
When to use epoxy instead
Reach for epoxy when: the repair carries real load, the part flexes, the gap is large, the repair needs to be waterproof, or you need working time to position parts.
The honest tradeoff: epoxy takes hours to cure versus seconds and costs more per repair. But for anything you’d be upset about if it failed at the wrong moment, the wait is worth it.

The DIY Geek — hands-on guides for electronics, 3D printing, woodworking, and smart home.